Last updated November 18, 2026
Free written scope consultation - allowances, timeline, and change-order rules on paper before a single trade is scheduled
Home Additions & ADU Troubleshooting: Common Problems and How to Fix Them
The number one complaint after a home addition isn’t cost overruns. It’s the new space that never gets comfortable, because the HVAC system was extended without a load calculation. The second most common complaint arrives 6 to 24 months later, when a hairline crack at the transition wall becomes a stain, or a door in the new room stops latching because the addition settled on soil that was prepped differently than the original house. In this guide, we walk through the diagnostic framework we use in North Las Vegas to tell a cosmetic problem from a structural one from a building code deficiency, so you know what you’re looking at before you call anyone.
Quick Answer
Most home addition and ADU problems are diagnosable by pattern: temperature swings between old and new living space point to a duct load or envelope failure, cracks and staining along the transition wall point to the structural connection, and doors or windows that stick 6 to 18 months after completion point to foundation settling on poorly compacted native soil. A North Las Vegas homeowner should treat any problem that comes back after a repair, or that worsens across a season, as a candidate for a professional inspection rather than a cosmetic patch.
Styles & brands we work with
- Kitchen remodeling
- Bathroom remodeling
- Home additions & ADU
- Roofing
- Windows & doors
- Driveway & pavers
- Fence
Table of Contents
- Why is the new room always hotter or colder than the rest of the house?
- Reading the transition wall: what cracks and stains are telling you
- Foundation settling patterns in desert soil: normal shrinkage vs. structural warning
- Electrical symptoms that point to an undersized panel or overloaded circuit
- Moisture intrusion at roof-to-addition tie-ins and flat-to-pitch transitions
- ADU-specific problems: detached structures, utility runs, and permit close-out
- A 7-step self-diagnostic walkthrough before you call anyone
- The documentation you need to pursue a warranty claim (and what most homeowners throw away)
Why is the new room always hotter or colder than the rest of the house?
A temperature differential of more than 3 to 5 degrees between the addition and the main house, sustained across a full day, means one of three things: the duct design was extended incorrectly, the insulation or air barrier is incomplete, or the addition’s envelope is failing. In North Las Vegas, where July afternoons push well past 105°F and overnight lows in January dip near freezing, an undersized duct run or missing return is obvious within one summer. It doesn’t hide.
Work through these checks in order:
- Locate the supply registers and returns in the addition. A dedicated return is the tell. Additions run off an extended trunk line without a return will always run positive pressure, which drives air out through envelope gaps and pulls unconditioned attic air in through the path of least resistance.
- Measure with a simple thermometer at the same hour across three days. Record the addition and a central room. Consistency matters more than a single reading.
- Check the Manual J load calculation in your project documents. If the addition was designed as an add-on to the existing HVAC without a fresh load calc, the system is almost certainly short on capacity during peak cooling demand.
- Feel for drafts along baseboards and outlets on exterior walls. The outlets on the addition’s exterior walls are the easiest leak test. Cold air in winter at an outlet plate means the wall cavity insulation is missing or compressed.
- Inspect attic access if the addition has one. Look for compressed batt insulation, missing baffles at the eaves, or open framing gaps that were never sealed before drywall.
The fix depends on the diagnosis. A duct design problem usually means a mini-split, a dedicated zone, or a re-run of the trunk. An insulation gap is cheaper: air-seal, then re-insulate to code minimum. Envelope failure is the expensive one because it usually involves opening a wall. When we scope additions here in North Las Vegas, we insist on a load calculation on the original structure plus the addition, treated as one thermal system, because retrofitting a zone later costs more than designing it once.
Reading the transition wall: what cracks and stains are telling you
The transition wall, where the addition meets the original structure, is the most information-dense surface in the whole project. What shows up there 6 to 24 months after completion tells you more about the quality of the structural connection than any inspection report generated on the last day of the job.
| What you see | What it usually means | Urgency |
|---|---|---|
| Hairline vertical crack (under 1/16″) at a drywall corner | Normal drying and settling of new framing | Monitor |
| Drywall tape separation in a horizontal line | Differential movement between new and old framing | Cosmetic to moderate |
| Stair-step or diagonal crack at a corner | Differential foundation movement, needs evaluation | Call a pro |
| Water staining or a soft spot along the top of the wall | Roof tie-in flashing failure | Call a pro now |
| Crumbling or efflorescence on the exterior face | Moisture wicking behind the cladding | Call a pro |
| Crack wider than 1/8″ running vertically through drywall | Possible header or beam deflection | Call a structural engineer |
We’ve seen this repeatedly in North Las Vegas, especially on additions built during the busy 2021 and 2022 seasons when framing crews were stretched thin. The pattern is consistent: a joint that was taped over unsealed framing movement will telegraph within the first two heating and cooling cycles. If you catch tape separation in the first year and the underlying framing is fine, it’s a re-tape and move on. If you see diagonal cracks paired with a door that won’t latch, stop painting over it and get it looked at.
Foundation settling patterns in desert soil: normal shrinkage vs. structural warning
North Las Vegas sits on expansive desert soils and caliche, both of which behave differently than the clay or loam you’d find in other climates. Expansive soil swells when it gets wet and shrinks when it dries. Caliche is a cemented layer that can force a builder to over-excavate or re-engineer footings. In a normal year, an addition on properly compacted and prepped soil will exhibit some movement, especially in the first two summers when the soil under the new pour is still reaching equilibrium with the surrounding grade.
Here’s what separates normal from alarming:
- Normal: Hairline cracks at the drywall corners, a door that needs a slight push in the summer, small cracks in the exterior stucco that close up in winter.
- Concerning: Any interior door or window that changes swing or closes hard across a season, cracks wider than 1/8″ that don’t close, or a visible gap between the addition’s slab and a landscape feature such as a patio or paver walkway.
- Structural warning: Stair-step cracks in brick or block, sloping floors, doors that drag on the floor, a gap between the addition and the original structure at the exterior cladding line, or a chimney or column that visibly tilts.
The pattern that concerns us most in North Las Vegas is a new addition that shows one set of symptoms six months in and a different set at eighteen months. That progression almost always means the soil under the addition’s footings wasn’t compacted to the same standard as the original structure, or the footings were poured on fill rather than bearing soil. It’s the single most common structural callback we see on independently-built additions. Since the fix is invasive (underpinning, re-leveling, or a footing retrofit), a $500-$1,200 structural engineer’s inspection paid for in year one beats a $25,000+ repair in year five. Call a licensed structural engineer, not a handyman, for any of the “concerning” or “structural” symptoms above.
Electrical symptoms that point to an undersized panel or overloaded circuit
An addition always adds electrical load: bedroom circuits, a bathroom GFCI, a mini-split, often a kitchenette in an ADU. If the electrician who wired the addition tapped into the existing panel without a load calculation, the symptoms appear gradually and mostly after the homeowner adds something small, like a space heater or a hair dryer, on a circuit that was already near capacity.
The tell-tale symptoms that point to a panel capacity problem rather than a single bad circuit:
- Breakers in the main panel that trip when two large appliances run at once (microwave plus dryer, space heater plus bathroom fan).
- Lights that dim briefly when the HVAC compressor kicks on, especially if the dimming is worse in the addition than the original house.
- Warmth at outlet plates or switch plates in the addition’s exterior walls. Stop using that circuit and call an electrician. This is a fire risk, not a nuisance.
- A panel that’s already fully populated with tandem breakers added to make room for the addition’s circuits. Tandem breakers used to pack extra circuits into an already-full panel is a warning that the original capacity calculation was never done.
- GFCI receptacles in an ADU bathroom or kitchenette that nuisance-trip repeatedly. Usually a sign the circuit is shared with a downstream load it shouldn’t be.
Electrical work in an addition is one area where the DIY fix isn’t a fix. An overloaded panel can be undersized for the total load, which is a load calculation problem, not a tripped-breaker problem. In North Las Vegas, we’ve pulled panel replacement permits on several additions where the previous work had been completed without a load calc because the addition added an electric water heater, a 240V dryer, and a mini-split, all on a 100-amp service. That’s a structural electrical problem. Retrofitting a 200-amp service and re-running the addition’s circuits costs meaningfully less than an electrical fire.
Moisture intrusion at roof-to-addition tie-ins and flat-to-pitch transitions
North Las Vegas doesn’t get a lot of annual rainfall, which is precisely why water intrusion problems in additions often go unseen for several years. The desert delivers rain in concentrated bursts, sometimes an inch in an hour, and that intensity is what finds the weak point in the flashing.
The most vulnerable spots, in order:
- The transition where the addition’s roof ties into the original wall. This is where step flashing and counter-flashing meet the existing stucco or siding. If the original stucco was cut and patched without proper flashing and weep screed, water gets behind the cladding.
- Flat-to-pitch transitions on an addition with a lower roof. Water runs downhill. A flat tie-in that’s slightly under-pitched will hold water and eventually find the fasteners.
- ADU roof-to-wall intersections on detached structures. Detached ADUs often get a simplified roof, and the wall-to-roof transition is the first thing to fail.
- Penetrations in the addition’s roof for vents, skylights, or a mini-split line set. Each one is a potential leak point if the boot or collar wasn’t installed to manufacturer spec.
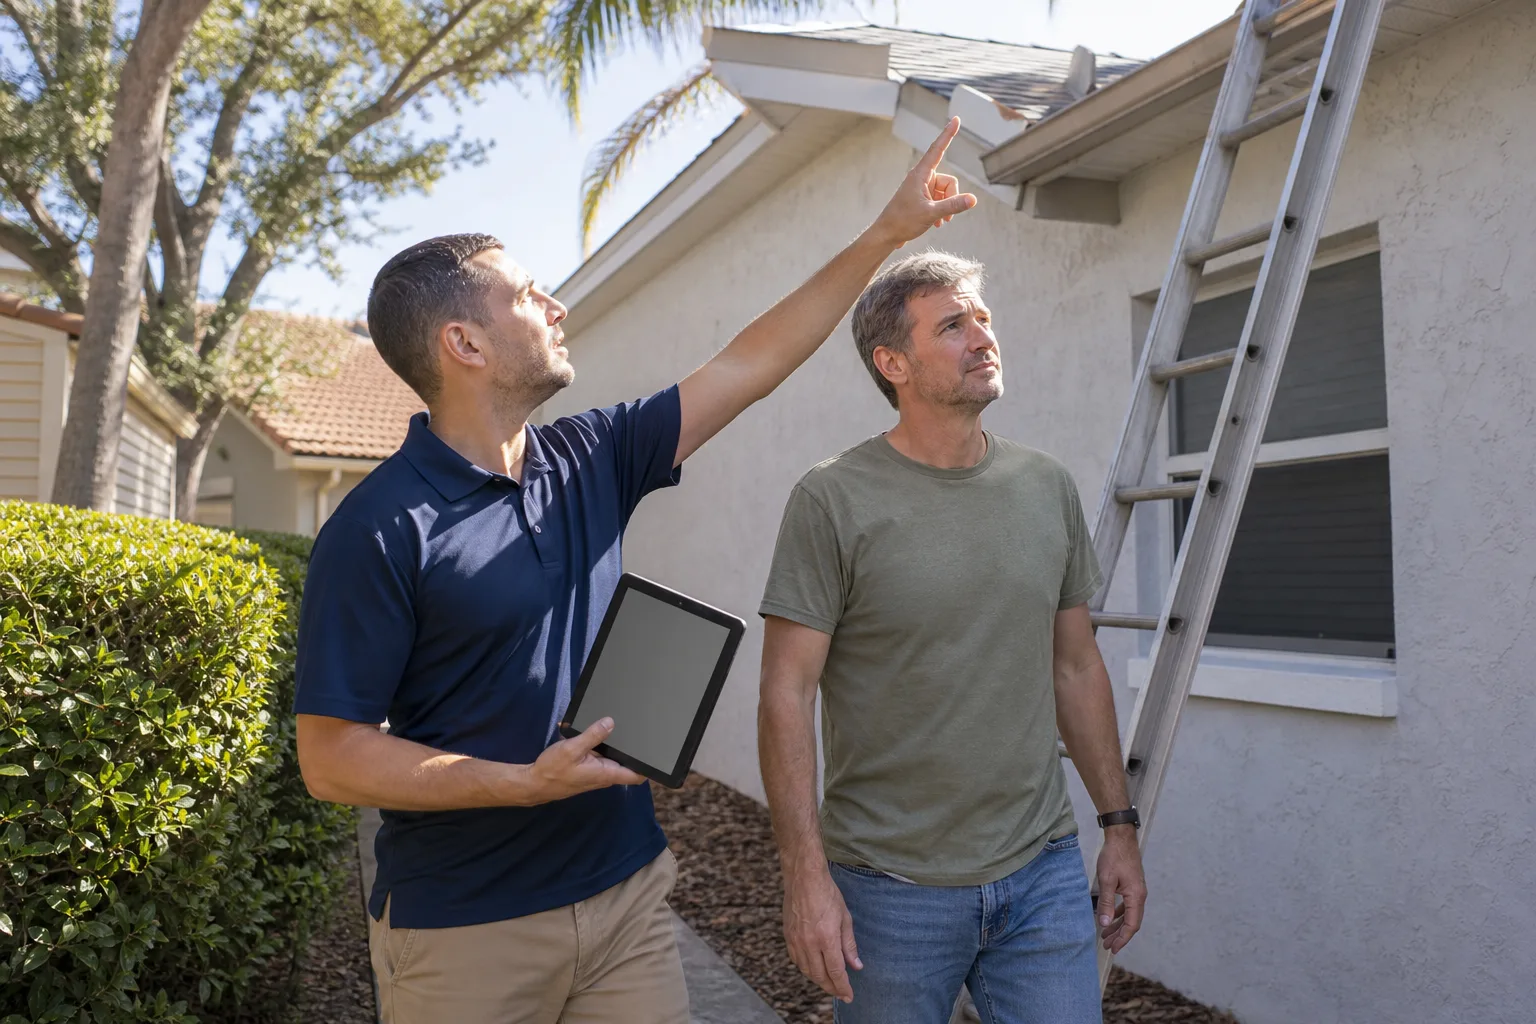
The diagnostic test that doesn’t require a contractor: get on a ladder on a dry day and look for staining on the stucco immediately below the roofline, missing or lifted step flashing, or a visible gap between the roof and the wall. Inside, look at the ceiling near the tie-in wall for a faint water ring, and check the drywall at the top of the wall on the addition side for softness. If the roof covering is GAF or Owens Corning, the manufacturer’s warranty may cover a failed installation, but only if you can prove the material and the installer. If you’re planning the addition now and want the roof installed to a standard that holds up under desert rain bursts, see Groundwork Construction Co. of North Las Vegas home for how we approach roof-to-wall detailing.
ADU-specific problems: detached structures, utility runs, and permit close-out
A detached ADU in North Las Vegas inherits every problem an attached addition has, plus three of its own: longer utility runs, a separate foundation that needs its own soil prep, and a permit close-out process that all too often gets finished in a hurry with an inspection report the homeowner never reads.
Utility runs. A detached ADU 60 or 80 feet from the main house runs water, sewer, gas if applicable, and electrical through a trench. A common failure is a shallow trench that doesn’t meet frost-line or code depth, or a sewer line that loses slope along the run. Symptoms: slow drains, a gurgle at the ADU’s fixtures when the main house drains, or a soft spot in the yard along the trench line after a rain. Those symptoms almost always mean the line needs to be scoped with a camera, not rooted.
Foundation isolation. A detached ADU’s foundation moves independently of the main house. That’s normal, but it means the ADU’s slab needs its own properly compacted base and its own moisture control. In North Las Vegas, we often see ADU slabs poured on native soil with minimal compaction because the slab is small and “it won’t move.” It moves.
Permit close-out documentation. An ADU that has a legitimate occupancy permit on file is a real asset; one that was closed out informally is a liability at resale. Pull the permit records from the city before you accept a final walkthrough. If you’re planning an ADU now and want the process scoped to avoid these issues later, see Home Additions & ADU in North Las Vegas for the project approach we use.
A 7-step self-diagnostic walkthrough before you call anyone
Run this walkthrough twice, once in summer and once in winter, before you call a contractor for anything short of visible water intrusion or a structural warning. You’ll get more useful information in two hours of your own time than in ten phone calls, and the contractor you eventually call will move faster because you already have the pattern.
- Measure the temperature differential. Take a reading at the same hour for three consecutive days in the addition and in a central room of the main house. Write it down. Anything over 5 degrees is worth investigating.
- Map the cracks. Photograph every crack in the transition wall, interior and exterior, with a coin or a ruler in frame for scale. Note the width and the direction.
- Do the door and window test. Open and close every door and window in the addition. Note which stick, which don’t latch, and whether the sticking changes with the weather.
- Check the exterior transition line. Walk the outside perimeter where the addition meets the original structure. Look for stucco or siding separation, a visible gap at the roofline, or staining below the roofline.
- Run a water test on the roofline, safely, from the ground with binoculars. Look for lifted flashing, missing shingles, or a boot that’s pulled away from a pipe. Do not walk the roof. Do not attempt this on a steep or two-story roof.
- Audit the electrical symptoms. Note every tripped breaker in the last 90 days and what was running when it tripped. Note any warm outlets or nuisance-tripping GFCIs.
- Pull your project file and read the inspection report. Permit records, inspection sign-offs, and the contractor’s written scope. This step alone resolves more than a few “problems” that turn out to be in-scope, expected behavior on a project that was properly built.
The documentation you need to pursue a warranty claim (and what most homeowners throw away)
The single biggest reason a legitimate warranty claim goes unpaid is that the homeowner threw away the paper trail before they needed it. The second biggest reason is that the claim is filed with the wrong party, because the homeowner can’t produce the contract that says who’s responsible for what.
Keep these items in a single physical folder plus a digital copy:
- The signed contract and every change order. Change orders are the most commonly lost document. They define what was and wasn’t built, and warranty disputes almost always come down to that distinction.
- The written scope with line items. If your contractor’s proposal was a one-line lump sum, the scope is arguable. Written line-item scopes are the reason “the number you see is the number you pay” is enforceable.
- The permit set and every inspection sign-off. Pull these from the city if you don’t have copies. They’re what proves the addition was built to code and inspected.
- The material and product documentation. Every brand-name product has a manufacturer warranty that runs alongside the contractor’s workmanship warranty. Window warranties through Andersen or Pella, roofing through GAF or Owens Corning, and waterproofing through Schluter all require proof of the installed product. Keep the spec sheets and the receipts.
- The final walkthrough punch list. Signed and dated. This is what you point to when a problem is a punch-list item that was never completed versus a new issue.
- Dated photographs of the project in progress. Wall cavities, slab prep, and framing photos are gold when you’re trying to prove how something was built.
One more piece of documentation most homeowners don’t have: a written workmanship warranty with a stated term. Ours runs 730 days, in writing, on every addition and ADU we build. If your contractor’s warranty is verbal or covered by a fine-print exclusion for “settling,” that’s what you’ll be arguing over in month fourteen. When we’re scoping a project, the warranty language goes in the proposal, not the final walkthrough packet, so you can compare it before you sign. If you’re planning a fence or hardscape around an existing addition, see Fence Installation in North Las Vegas and Driveway & Pavers in North Las Vegas for how we handle the transition from structure to grade.
Common Mistakes to Avoid
- Painting over tape separation at the transition wall without opening the corner first. The paint hides the symptom, not the cause. When the cause is differential movement between new and old framing, the tape will separate again within a year and you’ll have lost the timeline that would have pointed to the fix.
- Adding a mini-split as the fix for a temperature differential without first checking the envelope. In North Las Vegas, a mini-split added to a room with an unsealed exterior wall will run continuously in July and never quite get there. Seal the envelope first, then size the equipment.
- Accepting a verbal warranty. A verbal warranty means nothing in month 20. Insist on a written workmanship warranty with a stated term before work begins, and read the exclusions language for “settling” and “normal wear” carefully.
- Throwing away change orders because they felt like “extra paperwork.” The change order is the only document that distinguishes a built-in scope change from a warranty-covered defect. Keep every one.
- Assuming the foundation problem is normal settling because the contractor said so verbally. Get the assessment in writing from a structural engineer with a license, not from the person who poured the slab.
- Leaving an ADU permit open for years and thinking nobody will notice. North Las Vegas code enforcement and title companies both look at permit history. An open permit stalls a sale and often requires invasive inspection to close.
- Wiring the addition off the existing panel without a load calculation. It’s the most common shortcut, and it’s the one with the highest fire risk. Any panel that needed tandem breakers to fit the addition’s circuits should get a load calc, period.
See the difference
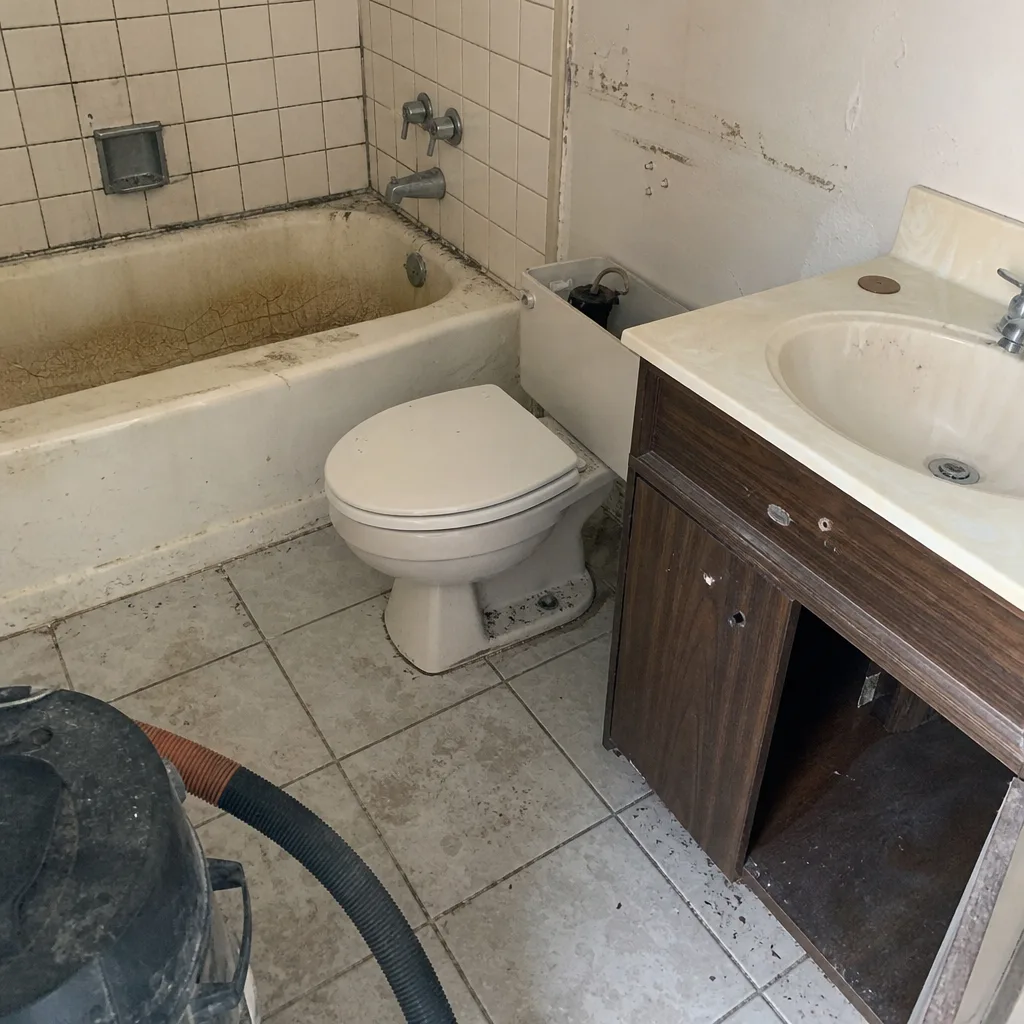 Before
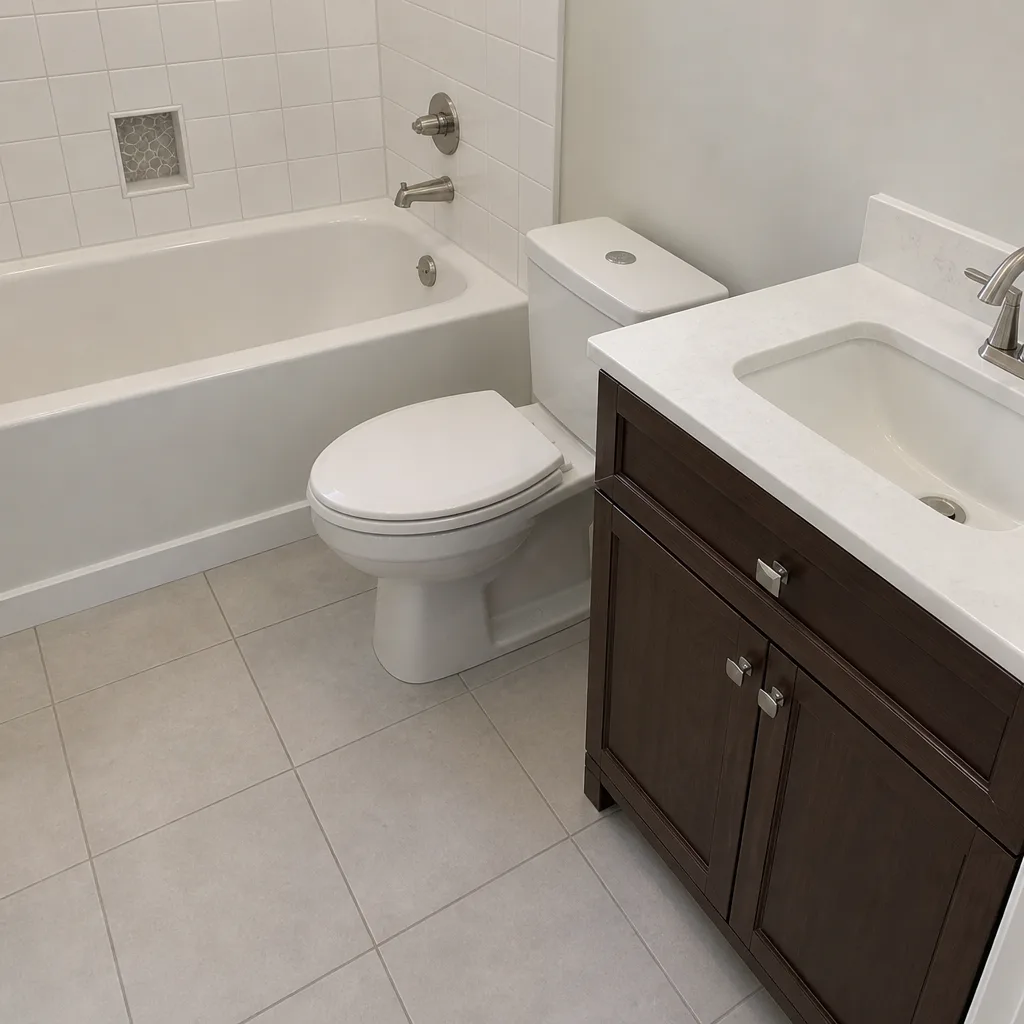 After
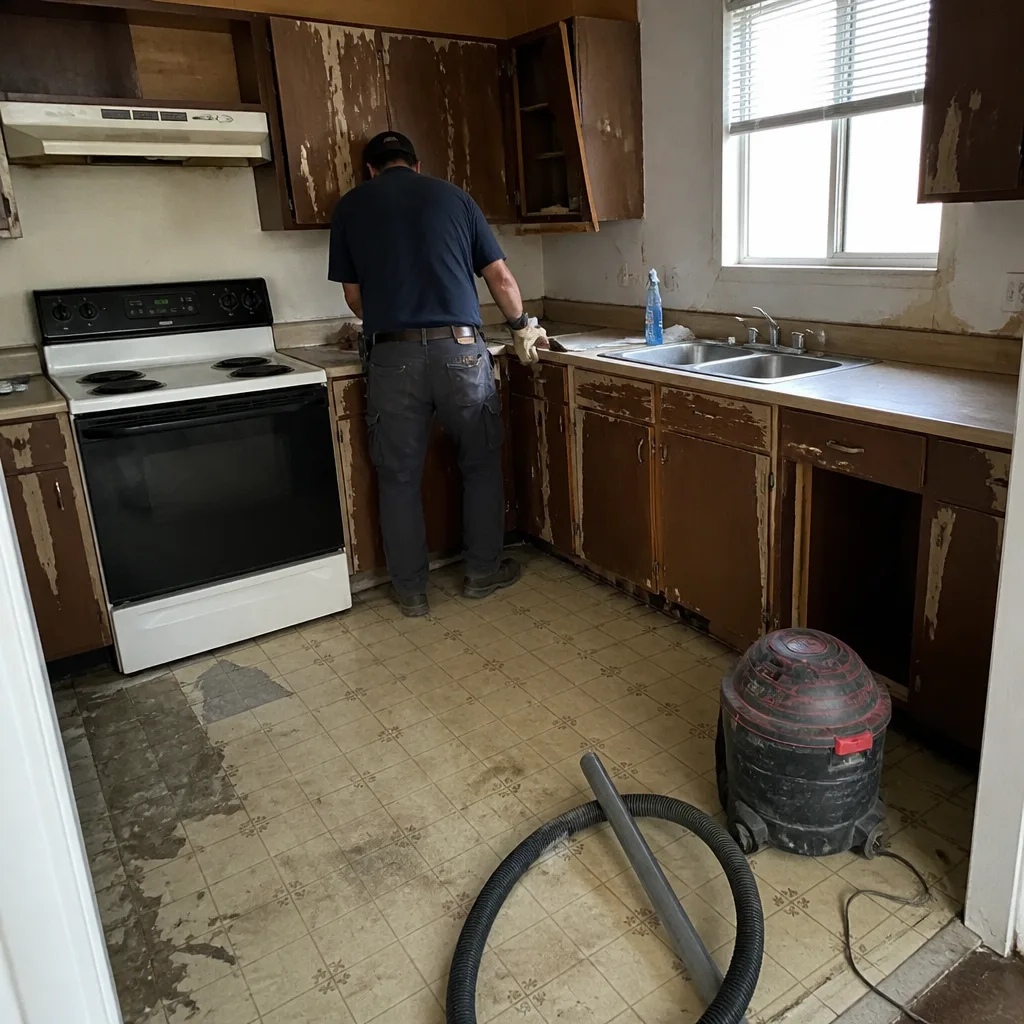 Before
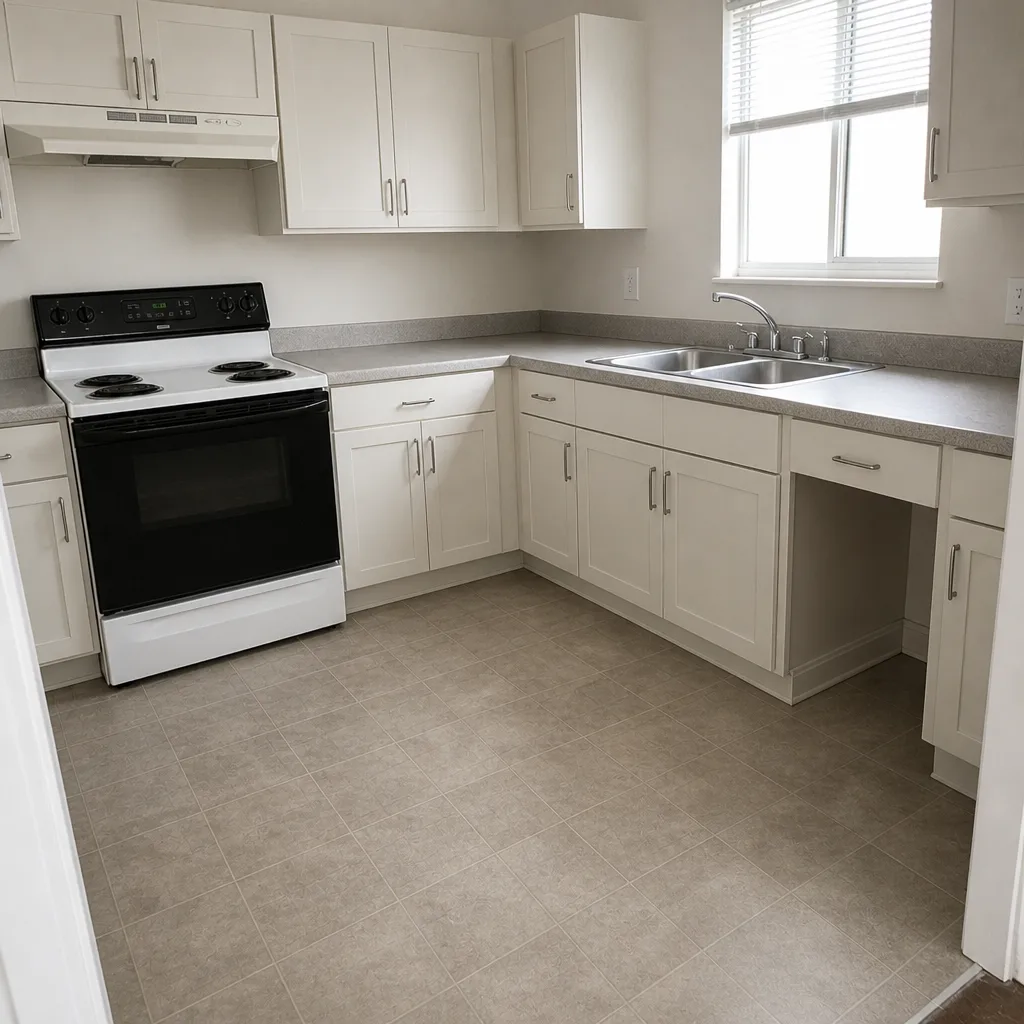 After
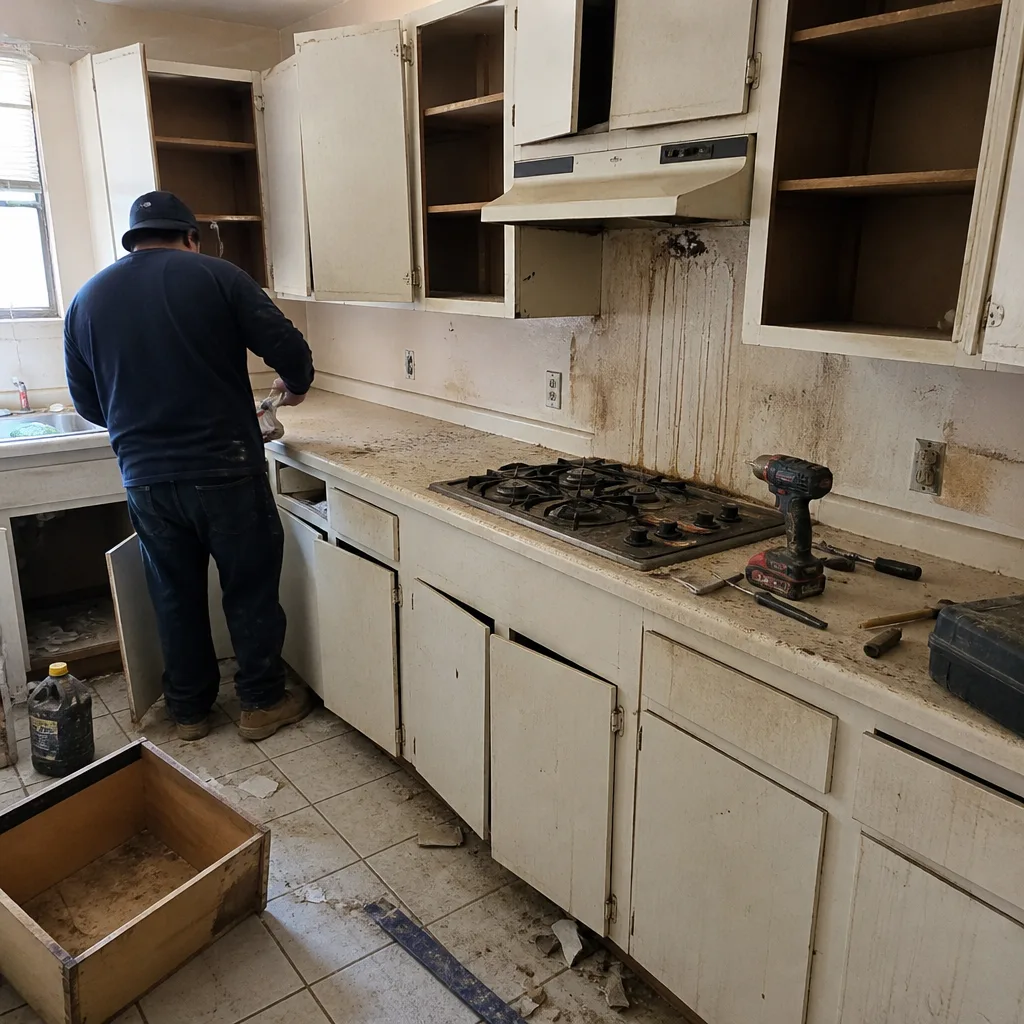 Before
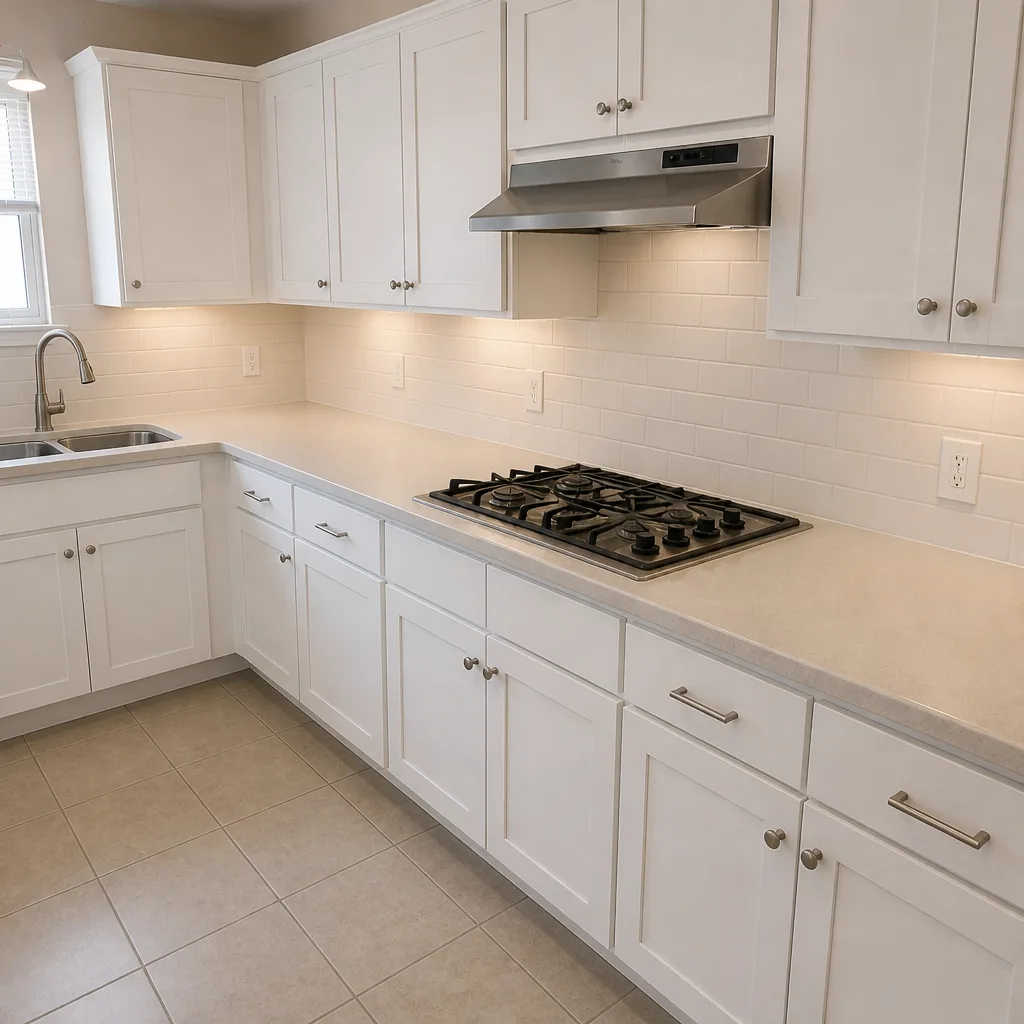 After
When to Call a Professional
Call a professional when the symptom recurs after a repair, when it worsens across a season, or when it involves water at the roof tie-in, warmth at an electrical outlet, or any crack wider than 1/8″ at the transition wall or foundation. Those three are the categories where a DIY fix can make the eventual repair more expensive and, in the electrical case, genuinely dangerous. High-voltage panel work and any roof access on a steep or two-story addition are not homeowner jobs, and the same is true for header work or any attempt to reposition a structural member. Groundwork Construction Co. of North Las Vegas offers free estimates in North Las Vegas, and our technicians bring up to 12 years of experience to diagnose the problem before anyone touches a wall. Call (844) 797-5026 and we’ll schedule a walkthrough with a written, line-item scope.
Frequently Asked Questions
The determining factors are width of crack, whether the symptom recurs or worsens across a season, and whether the function of a door or window has changed. Hairline cracks that close up in cooler weather are usually cosmetic settling. Cracks over 1/8″ that stay open, or doors and windows that no longer latch, are worth a structural engineer’s inspection. Call (844) 797-5026 for a free walkthrough estimate – it’s the fastest way to know whether you need a cosmetic repair or a structural evaluation.
It’s almost always one of three things: the addition was tied into the existing HVAC without a fresh load calculation, the enclosure has an insulation or air-sealing gap, or the duct run to the addition is undersized for its length. In North Las Vegas, where July afternoons push 105°F and beyond, an undersized HVAC zone in an addition shows up immediately. Call (844) 797-5026 for an estimate – we size additions as their own thermal zone and can fix or re-zone a system that was extended without the calculation.
File the claim as soon as you can document the pattern, and never wait until the last month of the warranty term. Most workmanship warranties have a defined term (ours runs 730 days), and a claim filed late in the term can be argued to fall outside it. Document the symptom with dated photos and a written description, then submit the claim through the same channel that produced the contract. Call (844) 797-5026 if you’re trying to file a claim on a project someone else built and want a second opinion on the diagnosis.
Yes. A detached ADU needs its own foundation, its own compacted base, and its own moisture control, because it moves independently of the main house. A detached slab in North Las Vegas treated as “too small to move” on native soil with minimal compaction is the most common ADU problem we see. Call (844) 797-5026 for a free estimate on a new ADU or a diagnostic on an existing one.
You should have the permit set, every inspection sign-off (foundation, framing, rough electrical, rough plumbing, insulation, final), and a certificate of occupancy. Whatever you can’t find, pull from the city. Missing inspection records are the number one reason a legitimate warranty claim is denied and the number one reason a home sale stalls. Call (844) 797-5026 and we’ll walk you through what’s typically missing and how to get it back.
It depends on the diagnosis: a re-tape and water-seal repair of a transition wall is typically a small job, while a foundation underpinning or footing retrofit runs into the tens of thousands. The diagnostic inspection itself, a structural engineer’s report for example, is usually a few hundred dollars. Get a written, line-item estimate before any repair starts. Call (844) 797-5026 for a free estimate – we price with line items and no change orders once the scope is signed.
The Bottom Line
Most home addition and ADU problems announce themselves early if you know what to look for: temperature swings in the first summer, tape separation along the transition wall in the first year, door and window changes across the first heating and cooling cycle. The pattern matters more than any single reading. Cosmetic problems can wait. Structural warnings and moisture intrusion cannot. Electrical warmth at an outlet is a stop-and-call. Keep your contract, change orders, permit records, and material documentation together in one place, because that folder is the only thing standing between you and a warranty claim that goes unpaid. North Las Vegas homeowners deserve a written scope, a written warranty, and a straight answer on what’s cosmetic and what isn’t. That’s the standard we build to.
Get a Free Estimate on Your Addition or ADU
Groundwork Construction Co. of North Las Vegas builds additions, ADUs, and full-scope remodels from foundation to finish line, with upfront pricing, no change orders, and a 730-Day Done Right Promise in writing. If your project is over $10,000 you get $1,000 off, and 0% financing is available for 18 months. Call (844) 797-5026 to schedule your free estimate and design consult. Calls are answered by a live person, 24/7, and every technician arrives background-checked and in uniform. Built to last, backed in writing.
Written by the team at Groundwork Construction Co. of North Las Vegas.