Last updated November 18, 2026







Free written scope consultation - allowances, timeline, and change-order rules on paper before a single trade is scheduled
Bathroom Remodeling Troubleshooting: Common Problems and How to Fix Them
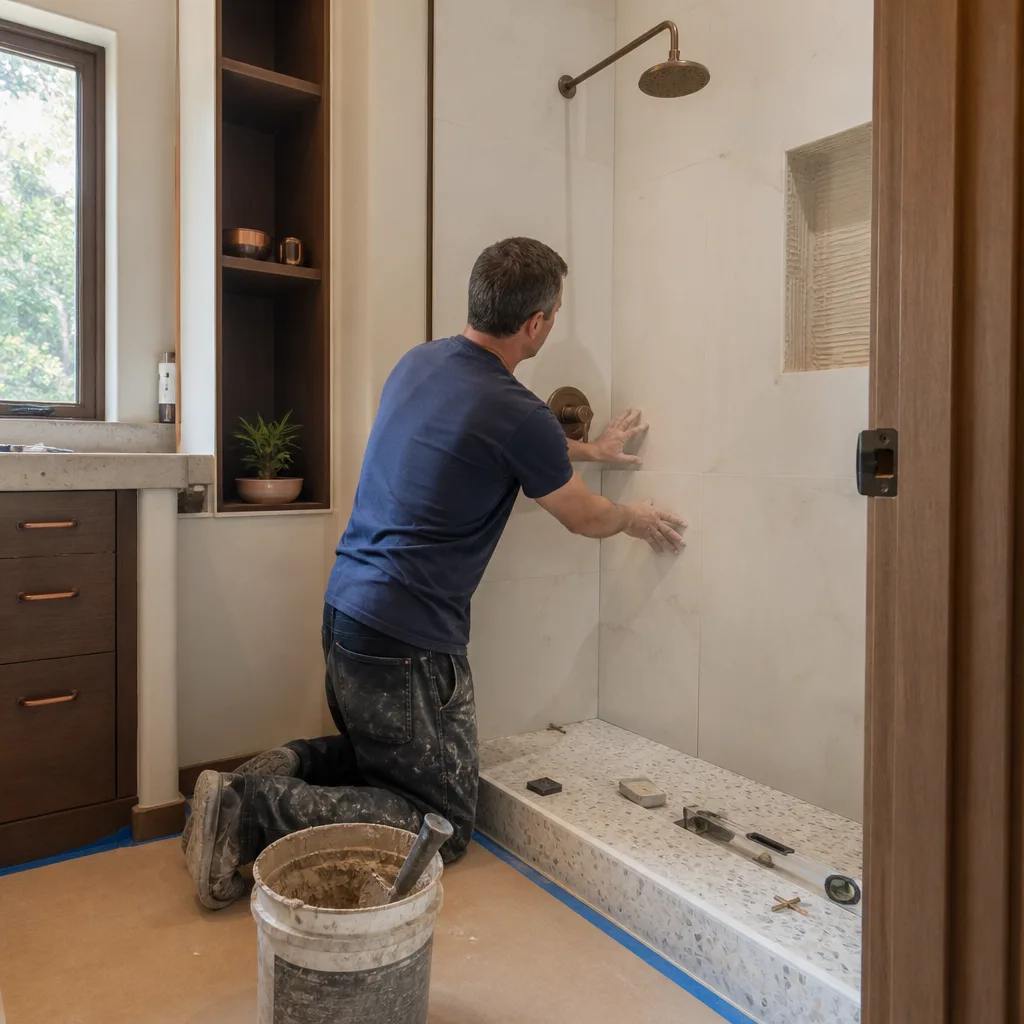
Failed tile grout inside the first year of a bathroom remodel is almost never the fault of the grout itself. It’s the substrate underneath. When a shower was built over drywall or greenboard instead of a proper waterproofing membrane, the grout fails because the assembly is moving and holding moisture at the same time, and regrouting that wall without fixing the membrane just buys you another eighteen months before a bigger tear-out. We’ve watched this play out in North Las Vegas bathrooms from Aliante to Centennial Parkway, and it usually traces back to the same three moments: immediately after completion, at six to twelve months when hidden moisture damage surfaces, and at the two-to-three-year mark when an undersized exhaust fan finally shows itself through mold growth. Knowing which window you’re in tells you whether the fix is a twenty-minute Saturday job or a call to your contractor.
Quick Answer
Most post-remodel bathroom problems fall into three categories, and the fix depends entirely on timing. Grout voids and caulk gaps that show up in the first weeks are usually a substrate and waterproofing failure, not a product failure, and need a contractor callback rather than more caulk. Moisture problems that surface at six to twelve months point to a failed shower pan, liner, or drain connection. Mold and chronic fog at two to three years almost always means the exhaust fan is undersized or ducted wrong. Diagnose before you patch, because treating a membrane failure with surface repairs doesn’t fix anything.
Styles & brands we work with
- Kitchen remodeling
- Bathroom remodeling
- Home additions & ADU
- Roofing
- Windows & doors
- Driveway & pavers
- Fence
Table of Contents
- Why Grout Cracks: Cosmetic Settling vs. Movement Problems
- How to Diagnose a Shower Pan Leak
- Testing Your Exhaust Fan: Is It Actually Moving Air?
- Low Water Pressure After a Remodel: Fixture or Supply Line?
- Caulk and Grout Repair That Actually Lasts
- How to Document and Escalate a Workmanship Complaint
- North Las Vegas Climate and Code Problems Specific to Bathrooms
Why Grout Cracks: Cosmetic Settling vs. Movement Problems
Not every crack in a grout joint is a problem. The trick is learning to read them. Hairline cracks running along a single joint, especially where a wall meets the floor or where two different materials meet, are usually expected. Grout is not flexible. It’s a rigid cementitious material sitting on top of a rigid tile, and where those two rigid systems meet a slightly more flexible substrate, you get a little movement. That movement shows up as a hairline crack. This is normal and usually cosmetic.
The cracks you should care about look different. They step across tiles at odd angles, they repeat in the same pattern across multiple grout lines, and they open up wider over time. They may also appear alongside a hollow sound when you tap the tile. Those are movement cracks, and they point to a subfloor or underlayment problem underneath – usually a floor that wasn’t stiffened enough for the tile span, or cement backer board that was nailed instead of screwed.
Quick diagnostic checklist for grout cracks:
- Tap the tile above and below the crack. A hollow sound means there’s a void under the tile, and the crack is structural.
- Measure the crack width. Under 1/32 of an inch and isolated, it’s likely cosmetic. Anything wider, or anything that’s grown in the last month, is a problem.
- Check whether the crack crosses tile edges. Cracks that stop and start within single tiles are settling. Cracks that run continuously across joints are movement.
- Look for accompanying problems: loose tiles, a soft floor spot, or a small bulge around the toilet flange.
In North Las Vegas bathrooms, we also see the extreme summer heat and very low humidity play a role. Tile and grout will expand during the day when the interior warms up and contract overnight. In homes with no gap left at the wall for expansion, that cycle can push grout into cracks over a few seasons. If your grout cracks all follow the same perimeter, that’s usually an expansion joint problem. On any bathroom in a North Las Vegas home built to modern code, that perimeter joint should have been filled with flexible caulk, not grout.
How to Diagnose a Shower Pan Leak
Water on the ceiling below your shower is the single scariest call a homeowner makes. It’s also, in our experience, the one where the diagnosis matters more than the fix. A leak in a tiled shower usually comes from one of three places: the drain connection, the pan liner, or the tile assembly itself (a failed mortar bed or a joint that’s lost its seal). Determining which before anybody starts demoing saves real money.
Step-by-step diagnostic sequence:
- Stop using the shower and dry everything for 48 hours. If the ceiling stain spreads during those two days, the leak is not from the shower at all – it’s coming from the supply lines or a toilet above.
- Plug the drain with a test plug (a cheap rubber balloon plug from any hardware store). Fill the pan with an inch of water. Mark the water line. Wait 24 hours.
- If the level drops and the ceiling below gets wetter, you have a shower pan leak. That narrows it to the liner or the drain connection.
- If the level holds but the ceiling stays wet, you probably have a drain-only leak or a slow wall-cavity leak, and the ceiling stain is residual moisture. Run the shower for ten minutes without filling the pan and watch the ceiling.
- If neither test moves the needle but the ceiling keeps staining, suspect the tile and mortar assembly. Grout that’s been eaten away near the curb, or a horizontal shelf that holds water, can wick slowly through.
The drain connection is the most common culprit in North Las Vegas remodels. When a two-piece drain is set, the clamping ring has to compress the liner correctly, and the weep holes have to stay open. We’ve been called to a North Las Vegas home in the El Campo Grande area where the pan liner had been installed with the clamping ring upside down, and it leaked within four months of the remodel. That’s a workmanship failure, not a plumbing failure, and it’s exactly the kind of thing a callback should address at no charge.
If you find a pan leak, do not seal the top of the tile with a waterproof coating and call it fixed. Water gets in through the grout no matter what you put on top. The liner is the only real waterproofing, and if it’s compromised, the shower pan has to come out.
Testing Your Exhaust Fan: Is It Actually Moving Air?
A bathroom exhaust fan that turns on and hums is not the same as a bathroom exhaust fan that works. Plenty of fans run all the way to the end of the day and still leave the walls wet. The code requirement for a full bathroom is 50 cubic feet per minute of airflow (CFM), and that’s a real number you can test.
The tissue test (one minute): Hold a single square of toilet paper up to the fan grille while it runs. It should pin flat against the grille and stay. If it flaps or falls, the fan isn’t pulling enough air. This is not a perfect measurement, but it’s a good starting point.
The trash bag test (ten minutes): For a rough CFM estimate, tape a trash bag around the fan grille and time how long it takes to fully inflate. Rough math: a 30-gallon bag holds about 4 cubic feet, so if it inflates in ten seconds, that’s 24 CFM – undersized for anything but a powder room. Under 50 CFM in a full bath is under-coded and will cause moisture problems eventually.
Common exhaust fan failure modes:
- Undersized fan – the most common problem. A 40 CFM fan in a full bath that needs 50 CFM is doing almost nothing.
- Short, uninsulated duct run – hot air hits cold duct in a North Las Vegas attic in July, condenses on the inside, and drips. It also kills fan efficiency.
- Ducted into the attic instead of outside – this dumps moisture into your attic, which is worse than no fan. We see it in older North Las Vegas homes more often than you’d expect.
- Plugged grille – lint and dust build up on the grille and reduce airflow by 20 to 30 percent over a few years.
- Wrong timer or switch – a fan that gets turned off the moment you leave the room never clears the moisture. The correct behavior is running the fan for 20 minutes after the shower ends.
If you’re seeing mold growth at the two-to-three-year mark in a bathroom that was remodeled with a new fan, the fan itself is almost always the problem. Replacement with a properly sized fan and a timer switch is one of the cheapest fixes in this whole guide, and it’s the one most homeowners put off.
Low Water Pressure After a Remodel: Fixture or Supply Line?
Low water pressure in a bathroom after a remodel is one of the most common complaints we get, and it almost always has one of three causes: a clogged aerator, a bad pressure-balance cartridge, or construction debris in the supply lines. The order of diagnosis matters because the cheapest fix is the one most people skip.
How to isolate the problem:
- Test each fixture separately. Turn on the sink, the shower, and the tub. If only one fixture is weak, the problem is that fixture. If all are weak, the problem is the supply line or the main.
- Remove and clean the faucet aerator. The little screen at the tip of the spout unscrews by hand. Run hot water through it in reverse. Any visible debris – especially sand, drywall dust, or tiny chunks of solder – confirms that the supply lines weren’t flushed before the fixture went in.
- Check the showerhead for a flow restrictor. Many manufacturers ship with a factory restrictor that can be removed (check the manual first – in California and some other states it’s technically required). If the shower pressure was fine before the remodel and is now weak, this is a likely cause in a fixture swap.
- Test the pressure-balance cartridge. Turn on the shower and adjust from cold to hot. If you get weak flow at some settings and strong flow at others, the cartridge is clogged or failing. On Moen and Delta single-handle valves, this is a common failure after a remodel because the cartridge was installed without a flush.
- Check the main pressure at an outdoor hose bib. If the outside hose bib is also weak, the problem is upstream – the main valve, the pressure-reducing valve, or a partial shutoff that was never fully reopened after the plumber left.
On a North Las Vegas remodel, hard water is a real factor. We’ve seen a fixture fail within eighteen months of installation in a home that had no water softener, because the cartridge was already scaled up. If your home is plumbed with hard water and your fixtures are American Standard or Moen with pressure-balance cartridges, plan on flushing the cartridge every two to three years regardless of the remodel quality.
Caulk and Grout Repair That Actually Lasts
Most DIY grout and caulk repairs fail within a year, and the reason is always the same: the surface wasn’t cleaned properly, or the wrong product was used where two materials meet. Both are fixable with a little discipline.
What you need for a lasting repair:
- 100% silicone caulk for any joint where two different planes meet (wall-to-floor, wall-to-tub, floor-to-shower curb). Never use latex caulk in a shower – it fails within a season in wet areas.
- Epoxy grout for tile-to-tile joints in a wet area. It won’t crack like cement grout and it stands up to hard water.
- A proper grout saw or oscillating tool to remove old material. Don’t just smear new caulk over old – it won’t bond.
The correct repair sequence:
- Remove all old caulk with a plastic scraper and a utility knife. Get it out to the edges, not just the surface.
- Clean the joint with denatured alcohol and let it dry completely – at least four hours, more if the bathroom has no window.
- Fill the joint with a foam backer rod if it’s more than a quarter inch wide. Caulk alone in a wide joint will slump and fail.
- Apply silicone caulk with a smooth, even bead. Smooth with a wet finger or a caulk tool within thirty seconds of application.
- Let it cure twenty-four hours without water contact – no shower, no tub use.
If your grout voids keep coming back in the same spots after two proper repairs, the problem isn’t the grout anymore. It’s the substrate, and you need to talk to whoever did the install. More on that below.
How to Document and Escalate a Workmanship Complaint
The difference between a complaint that gets a free repair and one that goes nowhere is almost always paperwork. A contractor who’s been in the business knows this. We’ve seen homeowners lose a legitimate claim against a contractor because they texted instead of emailing, or sent phone photos instead of dated, high-resolution shots.
What you need before you call the contractor back:
- Dated photographs at high resolution. Take one wide shot showing the whole bathroom and one macro shot of the problem. Include a coin or tape measure in frame for scale – contractors know what a quarter looks like.
- A written description of when the problem first appeared. Not “a few months ago” – the closest thing to a date you can reconstruct. Check your phone’s photo timestamps if you’re unsure.
- The original contract, scope of work, and any change orders. If the scope didn’t include waterproofing a specific area, or if a change order altered the plan, that’s relevant.
- Your payment records. A contractor who’s been fully paid has every incentive to resolve the issue and get a good review. One who’s still owed money has even more.
- A written timeline of your own observations. “Oct 4 – noticed grout crack near curb. Oct 8 – crack widened. Oct 20 – water stain on ceiling below.” This is what separates a real complaint from a vague one.
- Your warranty documents. Every legitimate contractor offers a workmanship warranty. If yours offers 730 days (that’s our standard – the 730-Day Done Right Promise), the problem you’re reporting is covered and the contractor’s job is to fix it, not debate it.
When you call, describe the problem in terms of what you’re seeing, not what you think caused it. “There’s a hairline crack along the top of the baseboard tile and it appeared two weeks after the shower was completed” is a better description than “the contractor didn’t waterproof properly.” Let the contractor diagnose it. If they don’t come back, escalate to your state contractor licensing board with the same paperwork package. In North Las Vegas, that’s the Nevada State Contractors Board, and their complaint process runs faster when the documentation is already organized.
North Las Vegas Climate and Code Problems Specific to Bathrooms
North Las Vegas has a climate that punishes bathroom mistakes in ways other markets don’t. Very low ambient humidity (routinely under 15 percent in summer) plus 105-to-110-degree daytime highs plus a cold snap that hits 30 degrees most winters equals a moisture and expansion cycle that no other region hits quite the same way.
The biggest climate-specific problem we see in North Las Vegas bathrooms is what we call “cold attic duct failure.” An exhaust fan ducted through the attic in summer can run to 140 degrees in the attic space. Then when winter arrives, that same duct runs through a 45-degree attic. The temperature swing condenses moisture inside the duct, which drips back down onto the fan or – worse – runs back into the bathroom ceiling. The fix is insulated flex duct with a downward slope to the exterior wall, never a horizontal run.
Another North Las Vegas pattern: low winter humidity and tile grout. Tile grout that was mixed too wet during install can shrink and crack the first winter, especially in homes without air sealing. If your grout cracked everywhere exactly one winter after the remodel, that’s the diagnosis – not a product failure, just the assembly reacting to its first real dry season.
On the code side, Clark County follows the IRC. Two things to verify on any North Las Vegas bathroom remodel: the exhaust fan must be ducted to the exterior (not the attic), and the shower must have a waterproof membrane behind the tile that extends at least six inches above the curb and to the ceiling in a steam shower. If a permit wasn’t pulled, you have no way to verify the waterproofing was inspected, which is one more reason North Las Vegas remodels should always be permitted. If you’re at the front end of a remodel instead of the back end and want a contractor who pulls permits as standard, see Groundwork Construction Co. of North Las Vegas home for the full picture of what that process looks like.
Common Mistakes to Avoid
- Caulking over failed grout in a wet area. Silicone over cracking grout just hides the failure and traps moisture underneath. In a North Las Vegas home with high summer heat cycles, that trapped moisture finds a way into the wall cavity within two seasons, and now you’re looking at a tear-out instead of a regrout.
- Regrouting without addressing the substrate. The opening of this whole guide in one line – if the grout is failing in the same spots twice, the substrate is moving and regrouting is a temporary patch. Any real fix requires the tile below to come off.
- Assuming the exhaust fan works because it turns on. Test the airflow with a tissue or a trash bag before you assume the fan is sized correctly. An undersized fan with a good switch is still an undersized fan.
- Ignoring a ceiling stain below the bathroom. Water on the ceiling is a shower pan leak until proven otherwise. Dry it, test it, and get a professional diagnosis before you paint over the stain – paint doesn’t stop water, and the next failure will be worse.
- Patching a low-pressure fixture without flushing the lines. If you install a new Moen cartridge over a line full of drywall dust from the remodel, the cartridge clogs within a month. Flush the lines, then replace the cartridge.
- Skipping the permit to save time. A North Las Vegas bathroom remodel without a permit has no waterproofing inspection, no exhaust fan verification, and no record of the work – which means when you sell the house, a buyer’s inspector will catch it and your remodeling cost becomes a negotiating discount.
- Documenting a workmanship problem on social media instead of in writing. A Yelp post feels good. A dated photo set and a written timeline in an email thread to your contractor is what actually gets the problem fixed.
If you’re also planning exterior work, the same diagnostic mindset applies to Driveway & Pavers in North Las Vegas, where a failed base shows up as paver settling the same way a failed substrate shows up as grout cracks indoors.
See the difference
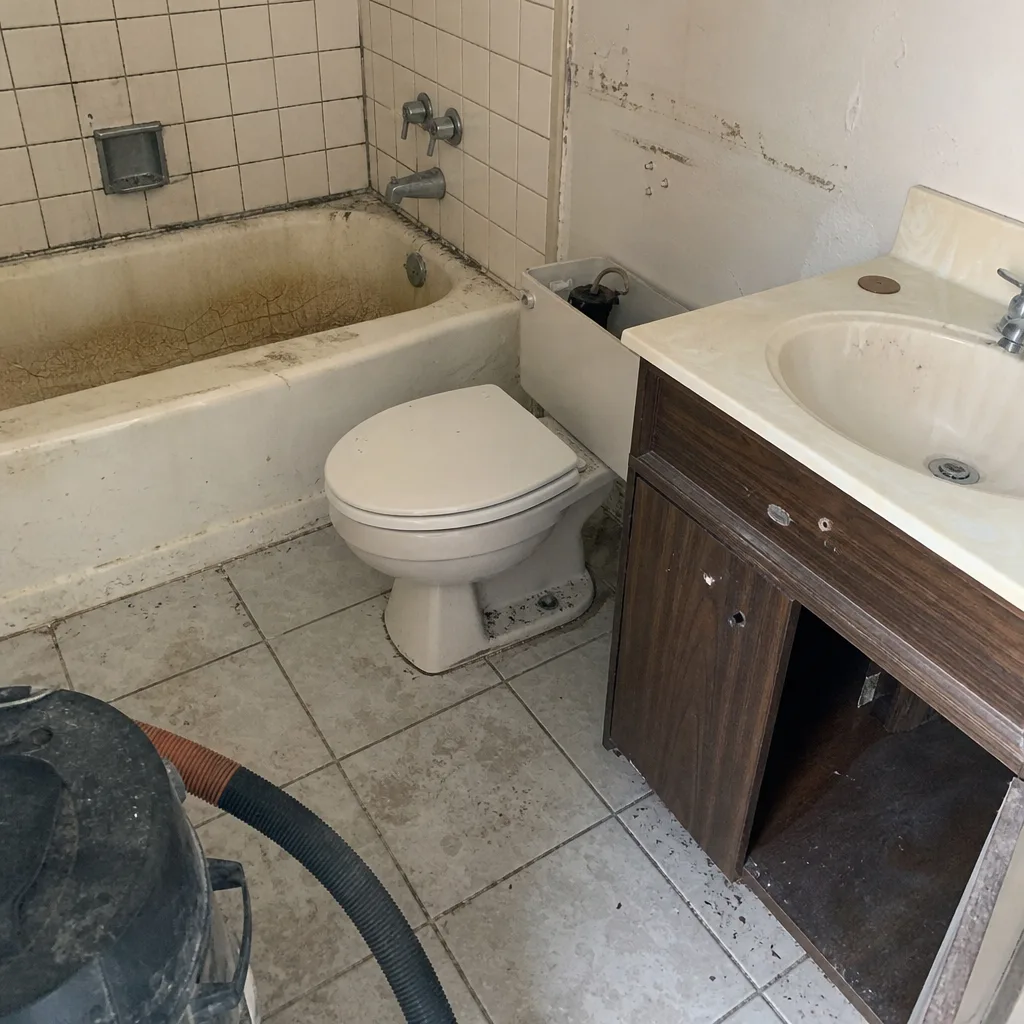 Before
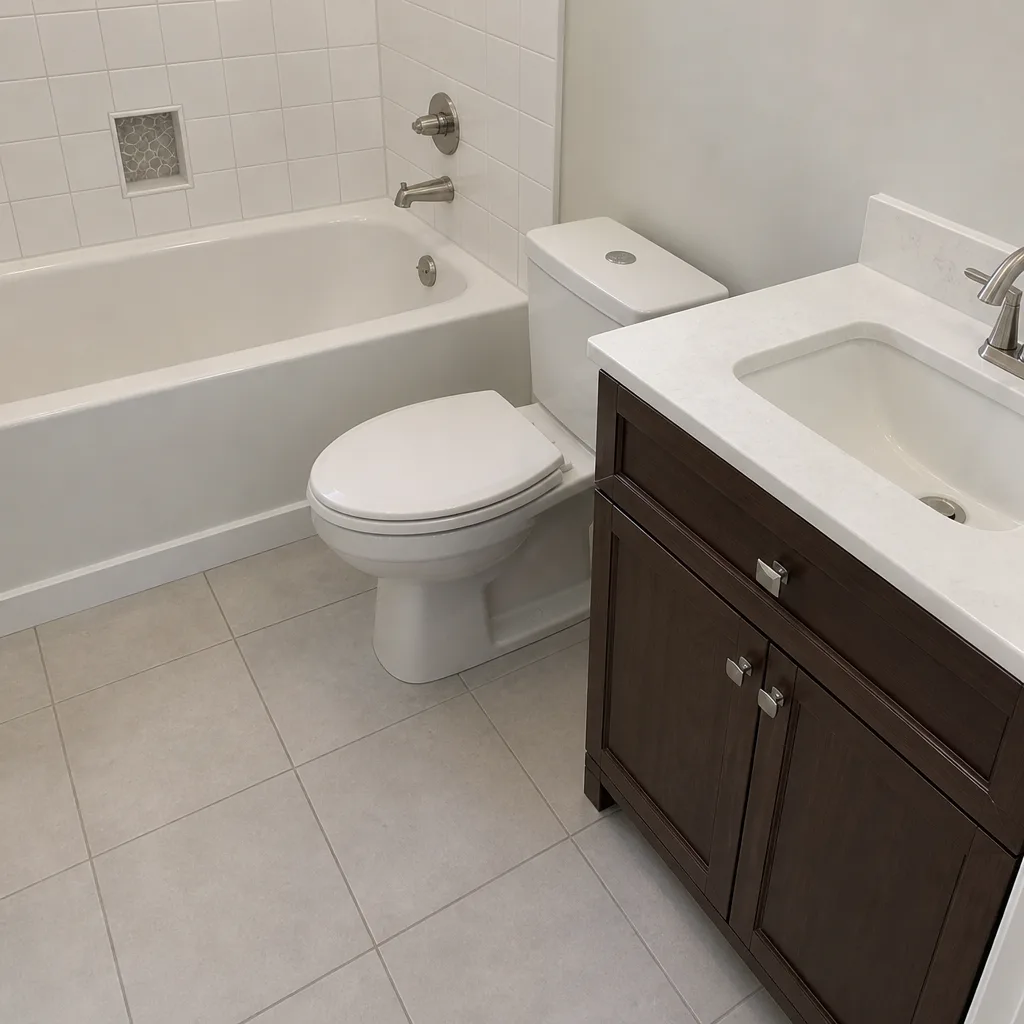 After
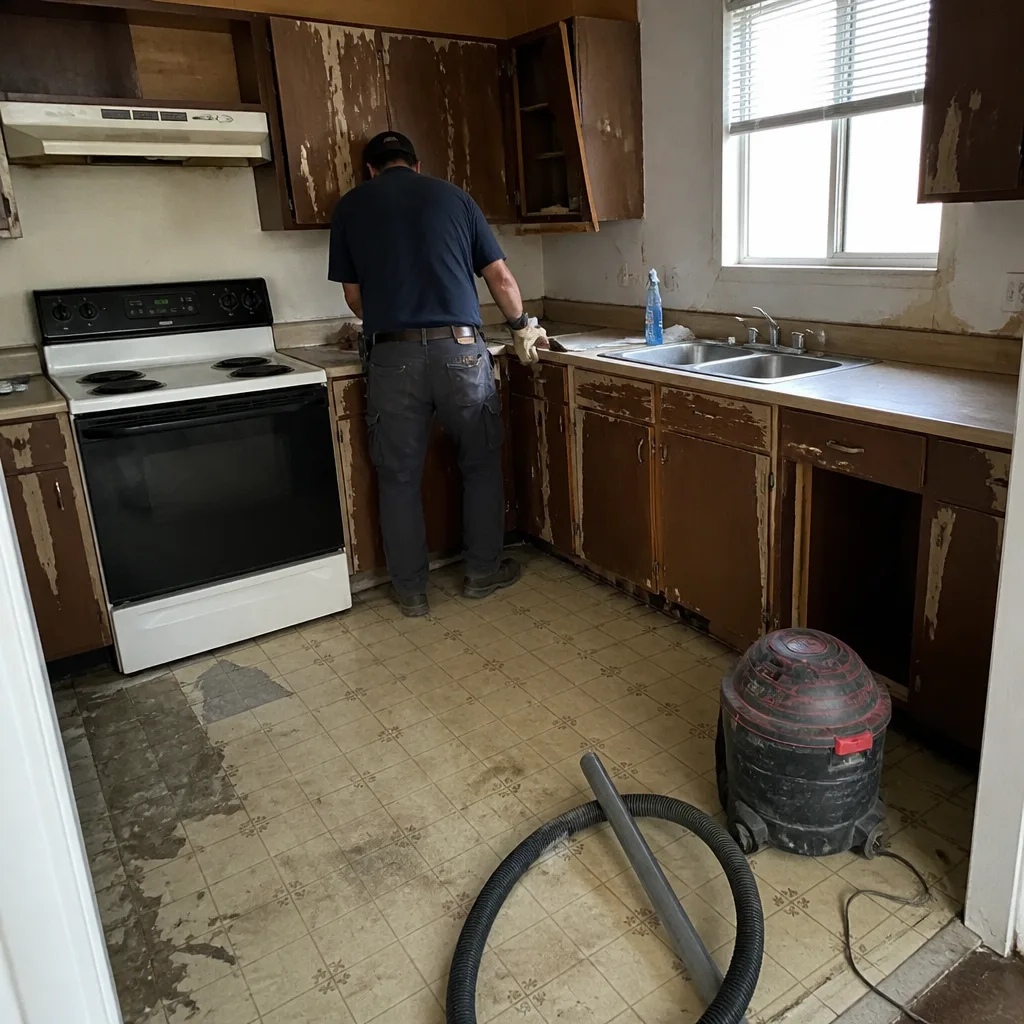 Before
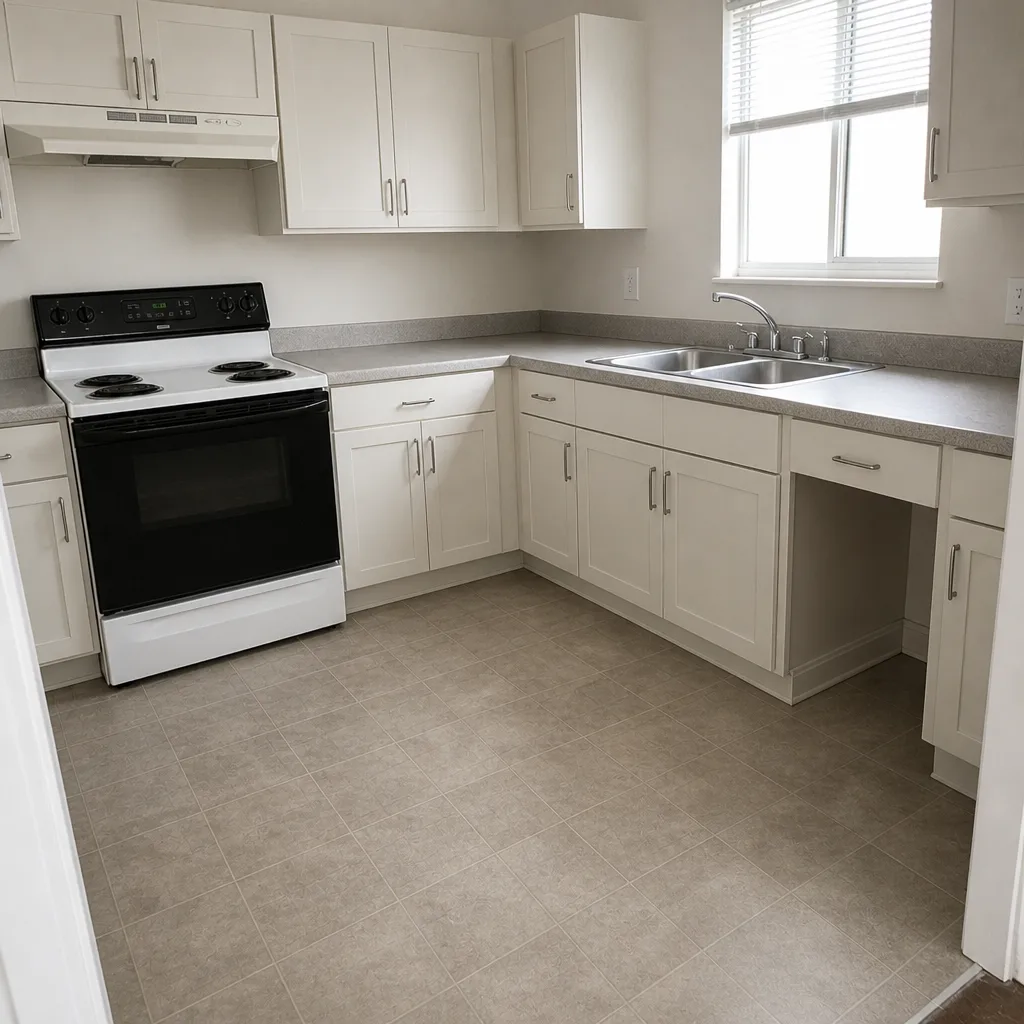 After
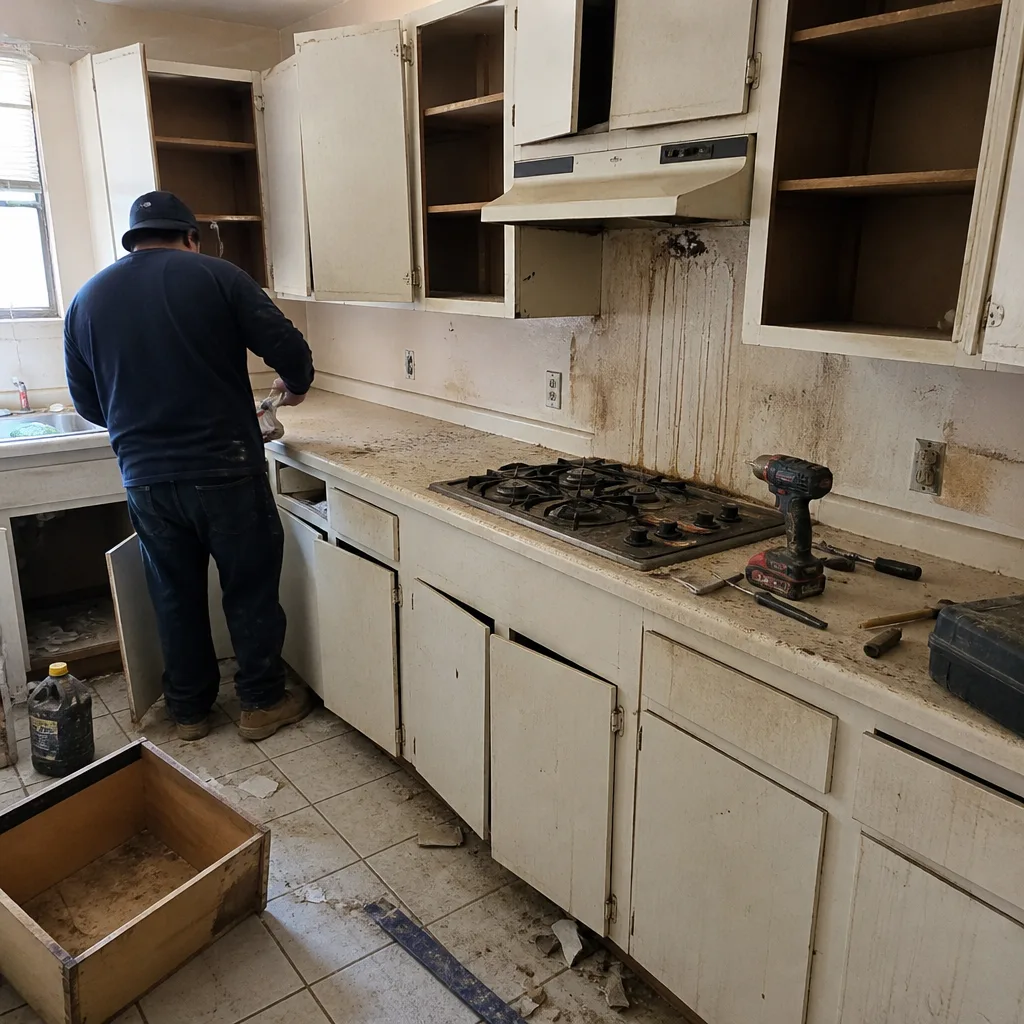 Before
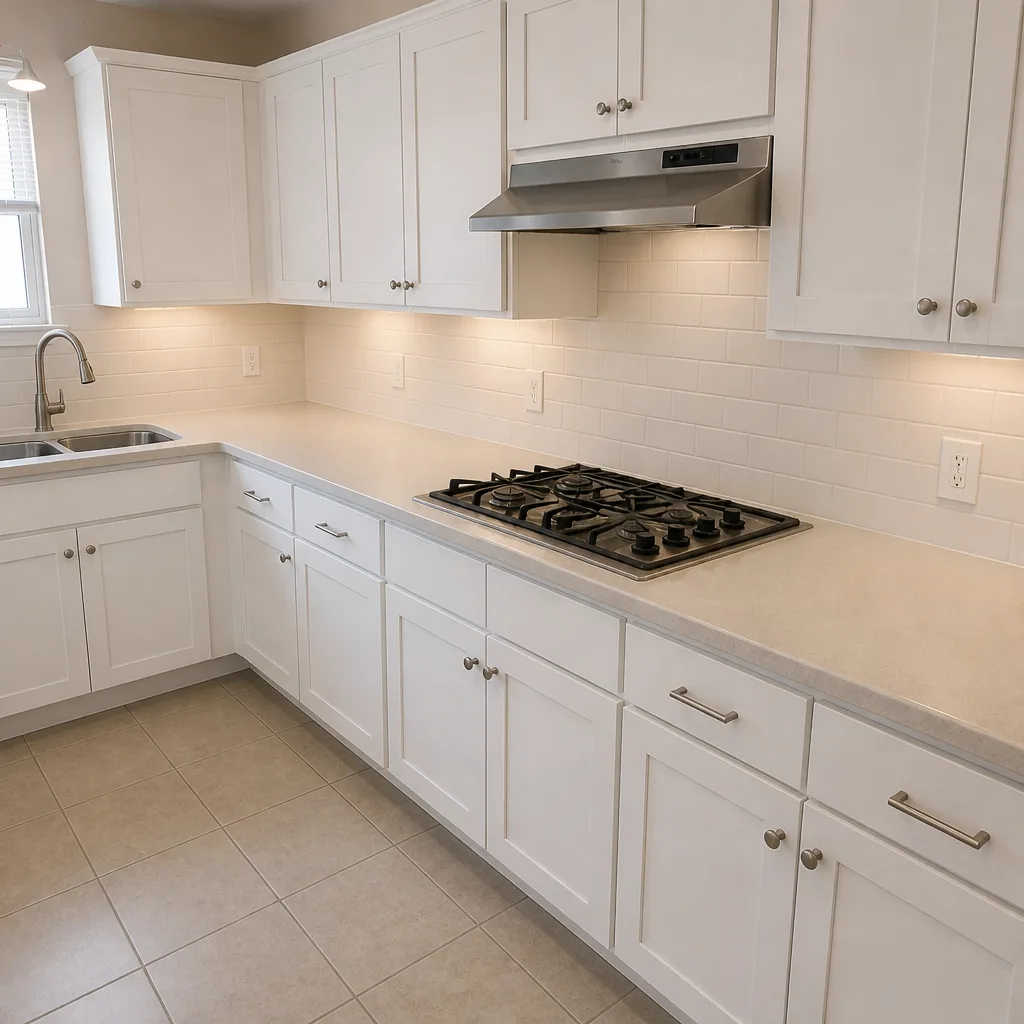 After
When to Call a Professional
Call a professional for any water on the ceiling below the bathroom, any grout failure that has recurred in the same spot after two repairs, any mold growth that’s appeared in a bathroom remodeled within the last three years, and any exhaust fan that fails the tissue test. Also call if a fixture is failing within the first year, if the remodel was completed without a permit, or if the original contractor won’t return calls – the technician you call next can typically document what the original installation did wrong, which is the beginning of a real warranty claim. Groundwork Construction Co. of North Las Vegas offers free estimates in North Las Vegas – call (844) 797-5026 and we’ll help you figure out what’s actually wrong before anyone starts demoing.
Frequently Asked Questions
Shower pan leak repair in North Las Vegas typically runs $1,200 to $2,800 for a full pan rebuild, including liner, mud bed, tile, and drain work. If the leak has damaged the ceiling below, add $400 to $900 for drywall repair and paint. A drain-only fix runs $300 to $600. The smaller number applies when the leak is isolated to the drain connection; the larger number applies when the liner itself has failed. Call (844) 797-5026 for an exact quote – estimates are free.
Grout cracking within weeks of a remodel almost always points to a substrate or movement issue, not a grout product failure. The most common causes are a floor that flexes under the tile, backer board that wasn’t installed correctly, or missing expansion joints at the walls. Cosmetic hairline cracks along perimeter joints are normal. Repeated cracks across tile, or cracks that keep reappearing in the same spot after repair, warrant a contractor callback.
Hold a single square of toilet paper against the fan grille while it runs. It should pin flat and stay. If it falls, the fan isn’t pulling enough air. For a rough CFM estimate, tape a 30-gallon trash bag over the grille and time how long it takes to inflate – about ten seconds per 24 CFM. A full bathroom should be pulling 50 CFM minimum, and a North Las Vegas bathroom with no window should be at that number or higher.
Not with a written line-item quote in hand. Get the scope of work in writing before anyone starts – what’s being removed, what’s being installed, and what brands and models are being used. At Groundwork Construction Co. of North Las Vegas, upfront pricing means the number we quote is the number you pay, and it’s backed by the 730-Day Done Right Promise. If a contractor’s quote is verbal, ask for it in writing before you proceed.
It depends on the scope. Replacing grout, caulk, or a fixture doesn’t require a permit. Rebuilding a shower pan, moving plumbing, or replacing a shower valve does. In the Las Vegas Valley, the permit process runs through Clark County and typically takes two to four weeks for a shower pan rebuild. If the original remodel wasn’t permitted, get a permit for the repair – that’s what verifies the waterproofing will be done correctly this time.
Document everything in writing first: dated photos, a written timeline, and the original contract and payment records. Send a written request by email asking the contractor to return. If they don’t within two weeks, file a complaint with the Nevada State Contractors Board. In the meantime, get an independent estimate for the repair from another contractor, because the documentation from a second professional carries weight with the licensing board and with any warranty claim. Call (844) 797-5026 if you need that second estimate.
The Bottom Line
Bathroom remodel problems are almost never product failures. Grout that cracks in the first year points to a waterproofing or substrate problem. Water at six to twelve months points to a shower pan, liner, or drain connection. Mold at two to three years points to an undersized or badly ducted exhaust fan. Diagnose in the right order, document everything in writing, and don’t let a surface fix stand in for the real repair. Whether you’re troubleshooting a recent remodel or getting ahead of problems on a fresh one, the Fence Installation in North Las Vegas guide and the Home Additions & ADU in North Las Vegas guide both follow the same idea: get the substrate right and everything above it will hold. For a bathroom that’s already failing, call us and we’ll help you sort out what’s actually going on.
The team at Groundwork Construction Co. of North Las Vegas has spent over four decades watching remodels succeed and fail, and the pattern is always the same – good workmanship starts with proper substrate, proper waterproofing, and proper ventilation. If you’re staring down a bathroom problem you can’t sort out, or you’re at the front end of a remodel and want it done right the first time, call (844) 797-5026 for a free estimate. Our technicians have up to 12 years of experience, every project is backed by the 730-Day Done Right Promise, and we’re happy to talk through your situation before you commit to any work. Live person, 24/7 – no voicemail, no waiting until Monday. Upfront pricing, no surprises, and a written quote before a single tile gets lifted.
Written by the team at Groundwork Construction Co. of North Las Vegas.