Last updated November 18, 2026








Free written scope consultation - allowances, timeline, and change-order rules on paper before a single trade is scheduled
Bathroom Remodeling Maintenance Schedule: What to Do and When
Most bathroom remodels start failing within 18 months, and it’s rarely the materials. A $22,000 tile shower doesn’t break down because someone bought cheap thinset. It fails because the homeowner was handed a beautiful new bathroom and zero instructions, and the contractor’s truck was already two neighborhoods away before the grout had fully cured. You sealed the deal, signed the punch list, and became the maintenance department overnight. Nobody scheduled the first grout inspection or told you that North Las Vegas water would eat through a bead of caulk faster than you’d expect. This guide closes that gap. We’re going to walk through a full maintenance calendar for your remodeled bathroom – what to do monthly, seasonally, and annually – so the investment you just made still looks new a decade from now.
Quick Answer
Your bathroom remodel needs a simple calendar: check grout and caulk monthly, clean the exhaust fan and test its airflow seasonally, and do a full inspection of seals, drains, and fixtures every 12 months. In North Las Vegas specifically, add a grout reseal every 12 to 18 months because the hard water and 100°F-plus summer heat break down sealers faster than in most of the country. If you follow that rhythm, you’ll catch problems at the $80 fix stage instead of the $4,000 tear-out stage.
Styles & brands we work with
- Kitchen remodeling
- Bathroom remodeling
- Home additions & ADU
- Roofing
- Windows & doors
- Driveway & pavers
- Fence
Table of Contents
- Why Post-Remodel Maintenance Is the Last Phase of the Project
- The Monthly Checklist: 15 Minutes That Save Thousands
- Grout and Caulk in North Las Vegas: Hard Water, Heat, and the Reseal Clock
- Exhaust Fan Checks: Why Nevada’s Dry Climate Hides Moisture Damage
- The Seasonal Calendar: What to Do Each Quarter
- The Annual Deep Inspection: A Numbered Walkthrough
- Manufacturer Maintenance Requirements That Protect Your Warranty
- Early Warning Signs: Catching the $4,000 Problem While It’s Still $80
Why Post-Remodel Maintenance Is the Last Phase of the Project
Here’s what we’ve learned from watching remodels age: the difference between a bathroom that’s still solid after 15 years and one that needs a full redo after 8 usually isn’t the materials. It’s whether the homeowner understood that a bathroom is a wet, moving, thermally cycling system that needs adjusting. Kohler fixtures and Cambria counters are built to last. Your caulk lines and grout joints are the parts that actually wear out first, and they’re the cheapest things to maintain.
Most contractors treat the final walkthrough as the finish line. We treat it as the handoff to the maintenance phase. When we finish a bathroom remodel in North Las Vegas, the walkthrough includes showing you where every shutoff valve is, what brand and model of exhaust fan you now own, and which line of caulk we used on the tub surround. That last detail matters. A cheap acrylic caulk on a shower surround might last two years. A quality silicone made for wet environments, applied correctly, lasts five or more. You can’t know when to replace something if you don’t know what’s there.
A bathroom remodel is a system of layers – structural tile backer, waterproofing membrane, thinset, tile, grout, sealer, caulk. Each layer has a different lifespan, and each one fails predictably. The sealer goes first. Then the grout starts to hairline crack from thermal movement. Then water finds the cracks and works its way toward the waterproofing. If the waterproofing was done right, you have a lot of forgiveness built in. If it was already failing at the membrane level, no maintenance schedule saves it – but that’s rare when the work was done to code with a proper shower pan liner and a pre-sloped bed, which is how we build them.
The point: maintenance is not optional polish. It’s the discipline that extends every layer’s lifespan. Get it right and you’re redoing a bathroom in 20 to 25 years. Get it wrong and you’re calling someone in North Las Vegas about a shower tear-out five years in. That same “do it now, do it right” logic runs through the rest of the home, which is why we treat maintenance the same way we treat new Groundwork Construction Co. of North Las Vegas home projects.
The Monthly Checklist: 15 Minutes That Save Thousands
Once a month, set a calendar reminder, walk into the bathroom, and do this. It takes about 15 minutes and it’s the highest-return home maintenance you’ll ever do.
- Run a finger along every caulk joint. Tub surround, shower surround, backsplash-to-wall transition, sink-to-counter seam. Any softness, peeling, dark specks, or gaps means rebed it now – not next month.
- Look at your grout under good light. Turn on the bathroom lights at night, no sunlight to hide anything. Check for hairline cracks, pinholes, crumbling, or grout that’s receded below the tile edge. In a North Las Vegas bathroom, thin lines of discoloration along the bottom of a shower wall are the first sign of water under the tile.
- Check the toilet base for wobble. Gently rock it side to side. Any movement at all means either the mounting bolts need tightening or the wax ring has failed. A failed wax ring is one of the most expensive small problems in home maintenance because it soaks the subfloor before you notice.
- Look at the supply lines under the sink. Braided stainless steel lines last a long time, but the fittings are where leaks start. Run a dry finger along each connection. Damp means leak.
- Confirm the exhaust fan is actually pulling. Hold a single square of toilet paper up to the fan grille while it’s running. If the fan pulls it flat, it’s working. If it flutters or falls, the fan or the duct has a problem.
- Sniff the drains. A faint sewer smell means the trap has dried out, or a caulk seal at a floor drain has failed. In a secondary bathroom that isn’t used daily, this is common. Running water once a week prevents the trap from going dry.
That’s it. Fifteen minutes, once a month. In our experience, homeowners who do this catch almost every problem before it becomes a repair. Homeowners who don’t are the ones who call us when water is dripping through the ceiling into the kitchen below. If your bathroom needs a full rework rather than maintenance, we’ll tell you straight – that’s the same transparent approach we take whether we’re planning a bathroom refresh or a larger structural project like a Home Additions & ADU in North Las Vegas.
Grout and Caulk in North Las Vegas: Hard Water, Heat, and the Reseal Clock
North Las Vegas is a harder climate on grout and caulk than most of the country, and it has almost nothing to do with the heat alone. Here’s what actually wrecks sealers faster here:
- Hard water. North Las Vegas tap water runs high in calcium and magnesium. When water evaporates off tile, it leaves mineral deposits, and those minerals are slightly acidic enough over time to break down sealer film. Soap scum plus mineral scale plus sealer creates a crust that starts to chip away at the sealer coating.
- Very low humidity. The dry air pulls moisture out of grout and caulk line faster than in humid climates. That rapid drying and wetting cycle is stress on the surface. Caulk in a humid climate stays slightly soft; caulk here shrinks back, hardens, and cracks within a couple of seasons if it’s the wrong type.
- High summer heat. Interior temperatures in an unvented, non-air-conditioned bathroom can push past 100°F on a July afternoon in North Las Vegas. That’s a thermal-expansion driver on tile and grout. Hairline cracks form along tile edges and in corners where the assembly moves.
- Temperature swings. Winter mornings here dip near freezing, summer afternoons hit triple digits. That’s a 60 to 70°F swing across the year. Grout and caulk joints expand and contract with it. Over a decade that’s a lot of movement.
What that means for your maintenance schedule:
- Reseal grout every 12 to 18 months in North Las Vegas. Nationwide guides will tell you 2 to 3 years. That’s too long here. Do it in spring, before the summer heat cycle starts stressing the joints.
- Inspect caulk joints every month and re-caulk every 3 to 5 years on shower surrounds, and every 4 to 6 years on other joints. If you used a quality silicone, you get the longer end of that range.
- Use a penetrating sealer on grout, not a topical coating. Penetrating sealers breathe with the grout. Topical sealers turn yellow and peel in a hot bathroom. In our experience, a quality penetrating sealer on grout is the single best thing you can do for a North Las Vegas bathroom.
- Don’t use vinegar-based cleaners on grout. We know it works on hard water stains. It also slowly eats sealer and grout. Use a pH-neutral tile cleaner, or a dedicated calcium-removal product that says it’s safe on grout.
One more thing specific to this region: water softeners help. If your house has a softener, your grout and caulk last noticeably longer, and so do your fixtures and shower glass. If you don’t have one, we often recommend them – not because you need softener to have a healthy bathroom, but because hard water is the single biggest accelerator of bathroom finish decay here.
Exhaust Fan Checks: Why Nevada’s Dry Climate Hides Moisture Damage
Here’s a counterintuitive thing about the desert: the dry air makes you feel like you don’t need to worry about bathroom moisture. It’s actually the opposite. North Las Vegas is a low-humidity market, so a poorly performing exhaust fan doesn’t cause obvious, visible fog on the mirror for weeks at a time. It causes damage you can’t see for 4 to 6 years, and by the time it’s visible, it’s a tear-out.
The worst case goes like this: a bathroom exhaust fan is undersized, or the duct run is kinked, or the exterior damper is stuck closed. The bathroom doesn’t fog up like it would in a humid market – it just kind of dries out. Nobody notices. But moisture from every shower is being pushed into the wall cavity behind the tile, or into the attic, or up the back of the drywall. In attic spaces that reach 140°F in July in North Las Vegas, moisture vapor condenses on the cooler underside of the roof deck. That’s where you get hidden deck rot, mold on the underside of sheathing, and what looks like a “small” roof leak that turns out to be a fan problem. We’ve seen the pattern more than once on Driveway & Pavers in North Las Vegas inspections that expanded when the homeowner started asking about other parts of the house.
How to check your fan properly, once a season:
- Do the tissue test. Hold a square of toilet paper up to the fan grille while running. It should pin flat against the grille and stay. If it drops or flutters, airflow is insufficient.
- Listen for the fan. Grinding, rumbling, or a labored hum means the motor or bearings are aging. A fan that’s simultaneously quiet and weak is often a sign of a fan set on a low setting that can’t handle a full shower.
- Clean the grille and fan blades twice a year. Lint and dust build up on the grille and blades and reduce flow before the motor fails. Pop the grille off, rinse it, vacuum the blades with a soft brush attachment.
- Check that outside air is actually exiting. In an exterior-wall install, you can go outside and feel for airflow from the vent hood while the fan runs. In a roof-exit-install, that’s harder – look for signs the damper stays closed or that the vent hood is clogged with dust and lint.
- Confirm the fan runs after every shower for at least 20 minutes. Modern fans with humidity sensors and timers do this automatically. If your fan is a plain on/off switch, this becomes a habit change. Time it. Some cheap fans are so loud people turn them off early, which defeats the purpose.
If your bathroom has never had a fan, or the fan is an undersized builder-grade unit from before your remodel, this is the time to upgrade. A properly sized fan running for 20 minutes after each shower is worth more to your bathroom’s lifespan than almost any other single change.
The Seasonal Calendar: What to Do Each Quarter
So it doesn’t feel overwhelming, break the year into four small seasons of maintenance. Each one takes about 30 to 45 minutes.
Spring (March to May)
- Reseal grout. Do it before the summer heat cycle, and before your air conditioning runs constantly, which dries out indoor air even further. This is the single most important seasonal task in North Las Vegas.
- Wash the shower enclosure and glass. Use a scale-removal product safe for your glass and fixture finishes. Hard water deposits set in over the winter and get harder to remove by summer.
- Test the exhaust fan airflow. Spring is a good time to confirm you’re ready for summer shower season.
Summer (June to August)
- Check the toilet tank for sweating and running. Warm air and cool tank surfaces can produce condensation on the tank exterior, which is normal, but persistent tank sweating can also mean a slow leak and running water. Put a few drops of food dye in the tank overnight and check the bowl for color in the morning. Color in the bowl means a failed flapper that’s wasting water.
- Look at the ceiling and walls for moisture stains. Especially the ceiling directly below the attic, and above the shower. Small brown spots mean the fan or duct has a leak you can’t see.
- Check your caulk joints after high-heat weeks. Thermal expansion causes caulk joints to open up more in July than any other month in North Las Vegas.
Fall (September to November)
- Clean the exhaust fan grille and blades. A pre-winter cleaning prevents buildup before the fan runs heavier in winter indoor-air season.
- Inspect and caulk around the shower and tub. Fall is the ideal time to re-caulk because the joint movement has settled and the summer’s thermal stress is behind you.
- Test every supply line for dampness. Toilet, sink, and shower lines. A slow leak that started in summer can show as a small damp spot under the vanity by fall.
Winter (December to February)
- Run water in unused guest bathrooms weekly. North Las Vegas winter air is very dry and unused drains dry out fast, letting sewer gas in. A one-cup pour weekly prevents the smell and keeps the trap sealed.
- Inspect for cold-tolerance issues on exterior walls. Bathrooms on exterior walls with plumbing in the wall cavity can see cold snaps here. If you have any plumbing in an exterior wall, keep a slow drip on the coldest nights and confirm you know where the shutoff is.
- Do your annual deep inspection – more on that in the next section.
The Annual Deep Inspection: A Numbered Walkthrough
Once a year, usually in winter, do a full bathroom walkthrough with a flashlight and a notepad. This goes deep enough that it catches the things monthly checks miss.
- Open the vanity and check the cabinet floor. Water stains, warping, or soft wood on the cabinet base indicate a slow supply-line leak. Look at the wall behind the valve connection too, not just under the drain.
- Look at the caulk line where the toilet meets the floor. Dark specks mean wax ring replacement is due. Wobbly toilet plus dark caulk line means stop everything else and get this replaced first – it’s the highest-risk small problem in a bathroom.
- Inspect every grout line in the shower and on the floor, close up. Hold the flashlight low and rake across the surface. You’re looking for hairline cracks, crumbling, and receded grout lines.
- Check the shower drain assembly. Remove the drain cover, clean hair from the trap as best you can, and check for the strainer being loose or missing. Loose grates are a top cause of slow drains.
- Check your mechanical exhaust to the outside. In winter, look for condensation on the window, condensation on tile, or a persistent damp smell. If condensation forms on interior windows during or right after a shower, the fan is not removing moisture effectively.
- Test your GFCI outlets. Press the test button and confirm they trip, then reset. Once a year, this takes 30 seconds per outlet and confirms the electrical safety device that protects a wet room is working.
- Look up at the ceiling. Any sign of staining, bubbling paint, or peeling near the shower indicates moisture accumulation above. That’s a call-a-problem, not a do-it-yourself problem.
- Check your shower door hardware. Loose hinges, worn sweeps (the rubber seal at the bottom), or a sagging door indicate worn bushings. The sweeps are a $15 part that prevents hundreds in water damage on the curb and floor.
- Test every shutoff valve that serves the bathroom – under the sink and behind the toilet. Just close them and open them again so they don’t seize in the open position. In our early warning experience, seized shutoff valves are the reason a small leak becomes a flooded bathroom.
- Walk the perimeter and check the adjacent rooms. Look at the baseboard in the room on the other side of the shower wall, and the ceiling below the bathroom. Water that gets past a shower pan goes downward first. Catching it in a baseboard before it reaches a subfloor is the difference between a $200 repair and a $4,000 repair.
Manufacturer Maintenance Requirements That Protect Your Warranty
This is where a lot of remodels quietly lose coverage they paid for. Manufacturers build maintenance requirements into their warranties, and skipping them voids coverage.
Take Kohler, one of the fixture brands we work with most often. Most Kohler finish and function warranties require that the product is installed and maintained according to the manufacturer’s instructions. That’s not fine print. It means if you use a harsh chemical cleaner on a finish and it fails, they can point to the required cleaner recommendation and decline the claim. Don’t clean a finish with anything the manufacturer didn’t approve.
Shower door glass is another common one. Most frameless glass manufacturers require a squeegee after each shower and cleaning with a product that won’t degrade the glass coating. Hard-water etching on shower glass is not covered by warranty – it’s a maintenance issue. A $5 squeegee, used every shower, prevents hundreds in glass replacement.
Tile and grout manufacturers typically require that the grout is sealed per their instructions on a schedule. A manufacturer whose grout fails during the warranty period can decline the claim if the grout was never sealed. Keep a simple maintenance log. When you reseal grout, note the date and the product. When you re-caulk, do the same. It’s a two-line entry, and it turns “I think we resealed it last year” into a record that supports a claim.
Here’s what we do differently: when we finish a bathroom remodel, we leave behind a short maintenance sheet listing the actual products used – not generic recommendations. On a recent North Las Vegas bathroom, that means noting the specific sealer brand on the shower grout, the specific caulk on the tub surround, and the exact model of the exhaust fan. If you’ve had a bathroom remodeled by another contractor and don’t have that list, take five minutes to photograph the model tags stamped under the sink and the fan grille sticker. That’s the starting point for the maintenance schedule you never got.
The same warranty-preservation logic applies beyond the bathroom. Roof materials like GAF and Owens Corning also carry maintenance requirements, which is why we flag them on any Fence Installation in North Las Vegas project inspection when we’re walking a property – different trade, same rule about keeping the coverage you paid for.
Early Warning Signs: Catching the $4,000 Problem While It’s Still $80
The whole point of a schedule is to catch things early. Here’s what to look for, ranked from “handle it this weekend” to “call us now.”
- Grout that’s dark along the bottom of a shower wall is almost always water under the tile. The grout is wicking, and the discoloration is the moisture. Left alone, the waterproofing below gets compromised. Regrouting a shower wall is a few hundred dollars. Rebuilding the shower is a few thousand.
- Caulk that peels off in one continuous ribbon instead of flexing or crumbling usually means it was applied to a wet or dirty surface, or it’s simply aged out. Replace it now, before water gets behind it.
- A soft or wobbly toilet is a wax ring waiting to fail. Call someone to reset it now. A failed wax ring under a second-floor bathroom can be $3,000 to $4,000 in subfloor and drywall damage in a North Las Vegas home, mostly because water travels across the floor structure before it drops.
- Ceiling staining below the bathroom is water. This is a call-now, not a call-when-you-get-to-it. It almost always means the shower pan or the drain has failed somewhere.
- Mildew smell in the bathroom with no visible mold means the exhaust fan or duct is failing to pull moisture. Get the fan checked and cleaned before you get mold. Fixing a fan is $150. Mold remediation in a North Las Vegas bathroom is $1,500 to $4,000.
- Condensation on the inside of the window during or after a shower means the fan isn’t moving enough air. This is the classic Nevada clue that the fan is failing, because the rest of the state is so dry that you’d never otherwise notice.
- Grout that’s crumbly to the touch means the binder has failed. A grout saw and a weekend fixes it if you catch it early. If water has reached the backer, you’re looking at a full rebuild.
Common Mistakes to Avoid
- Waiting for visible damage before acting. In North Las Vegas, dry air means visible moisture damage shows up 4 to 6 years after the actual failure started. Monthly inspection catches what the climate hides.
- Using vinegar to clean hard water spots. It works on the scale, and it eats the sealer and the grout binder underneath. Use pH-neutral tile cleaner or a proper calcium remover.
- Re-caulking over old caulk. New caulk won’t bond to aged caulk. Strip it down to the joint, clean it, dry it 24 hours, then apply. It’s slower and it’s the only way it lasts.
- Not running the exhaust fan long enough. Killing the fan 5 minutes after a shower because it’s loud is a bigger problem than the noise. Let it run 20 minutes minimum, and if it’s loud, upgrade the fan.
- Skipping the annual shutoff-valve test. Shutoff valves that haven’t been moved in years can seize. When a supply line finally starts leaking, you can’t shut off the water. Test every one, once a year.
- Never photographing the model tags under the sink. If your bathroom was remodeled before you bought the house, you probably don’t know what fixtures you have. Photograph them. It costs nothing and it matters when a warranty claim comes up.
- Replacing the exhaust fan with the cheapest unit that fits. Fan quality directly affects the moisture in your bathroom and the material in your walls. Spend the extra money on a quiet, properly sized fan; it pays back in the health of the bathroom.
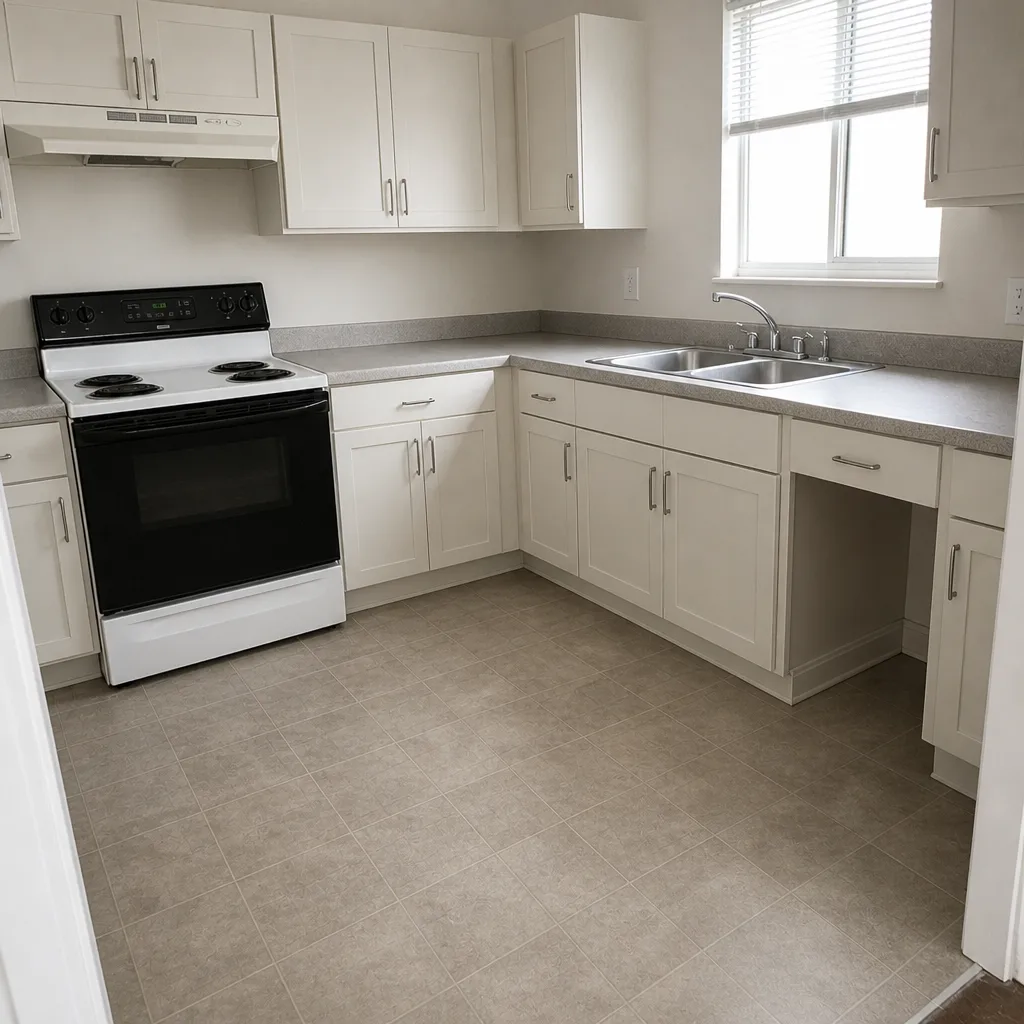
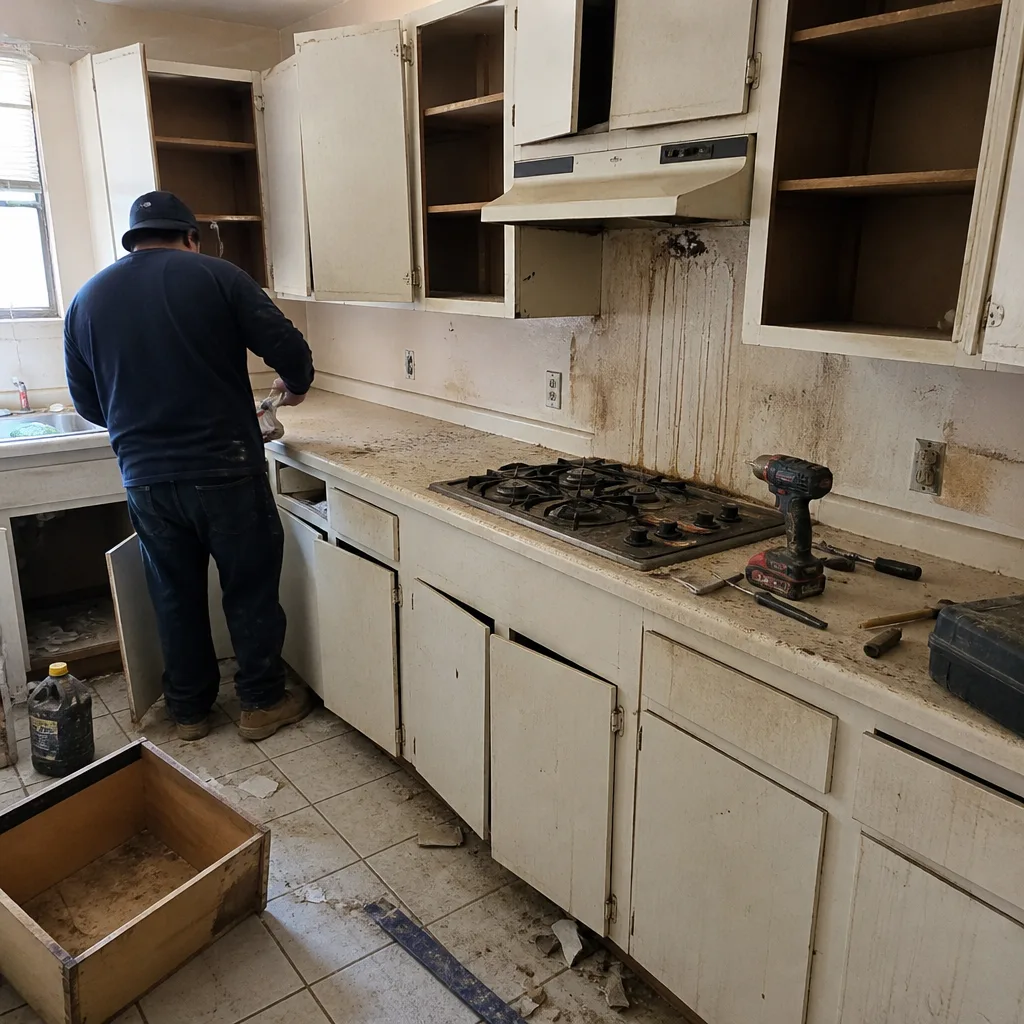
See the difference
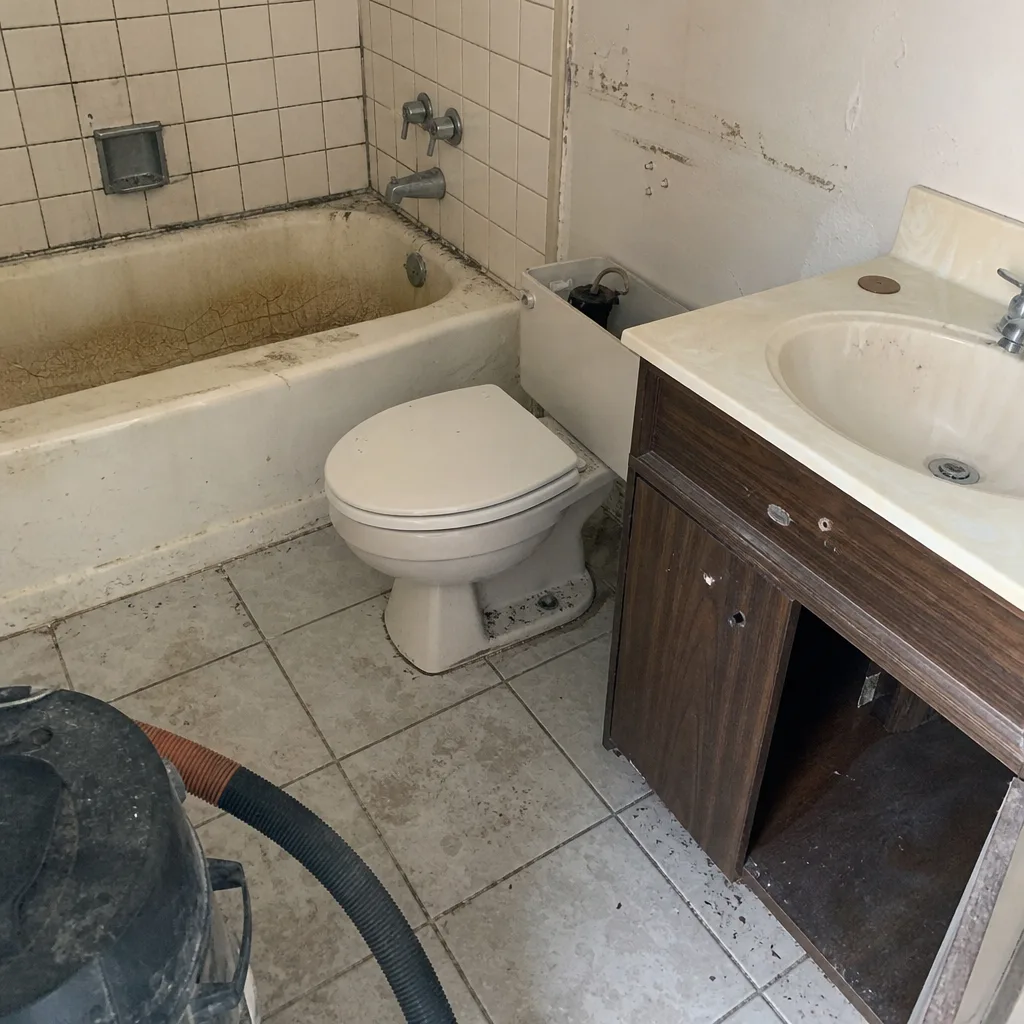 Before
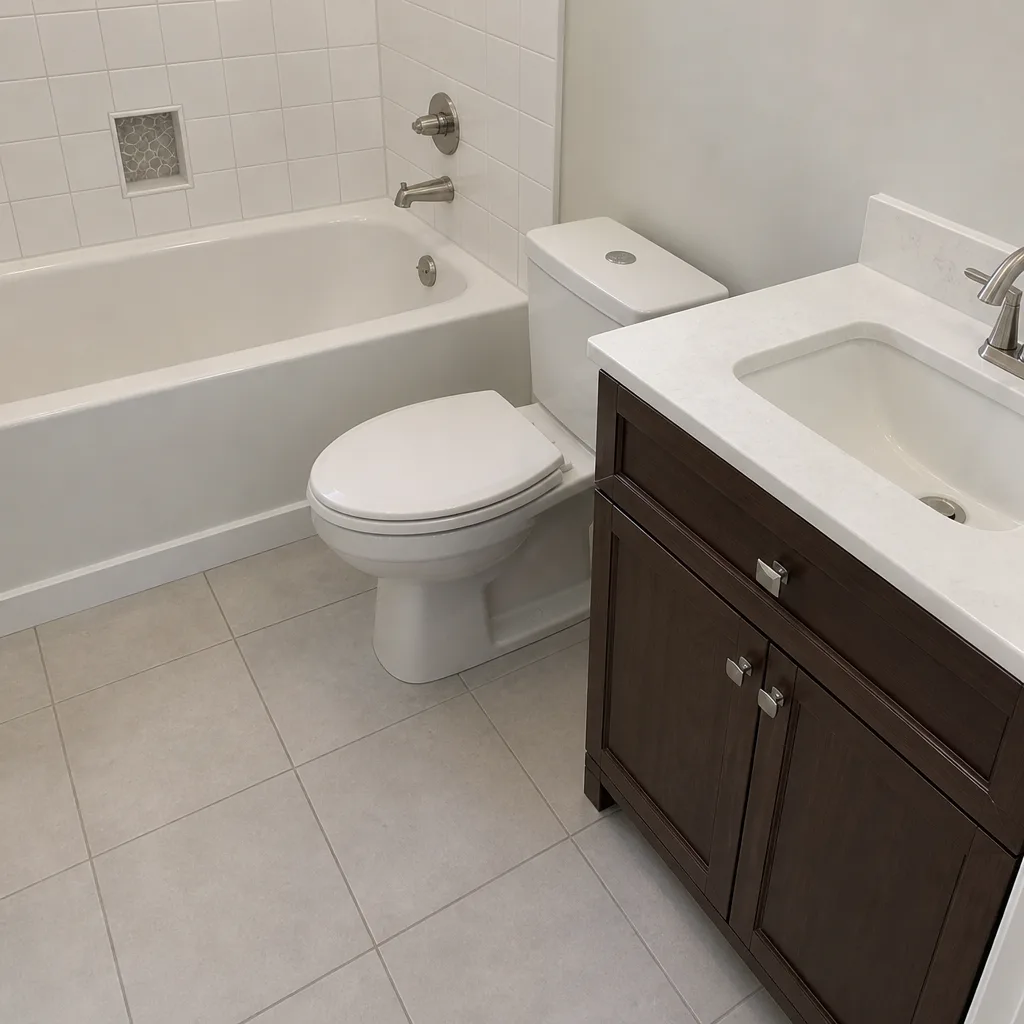 After
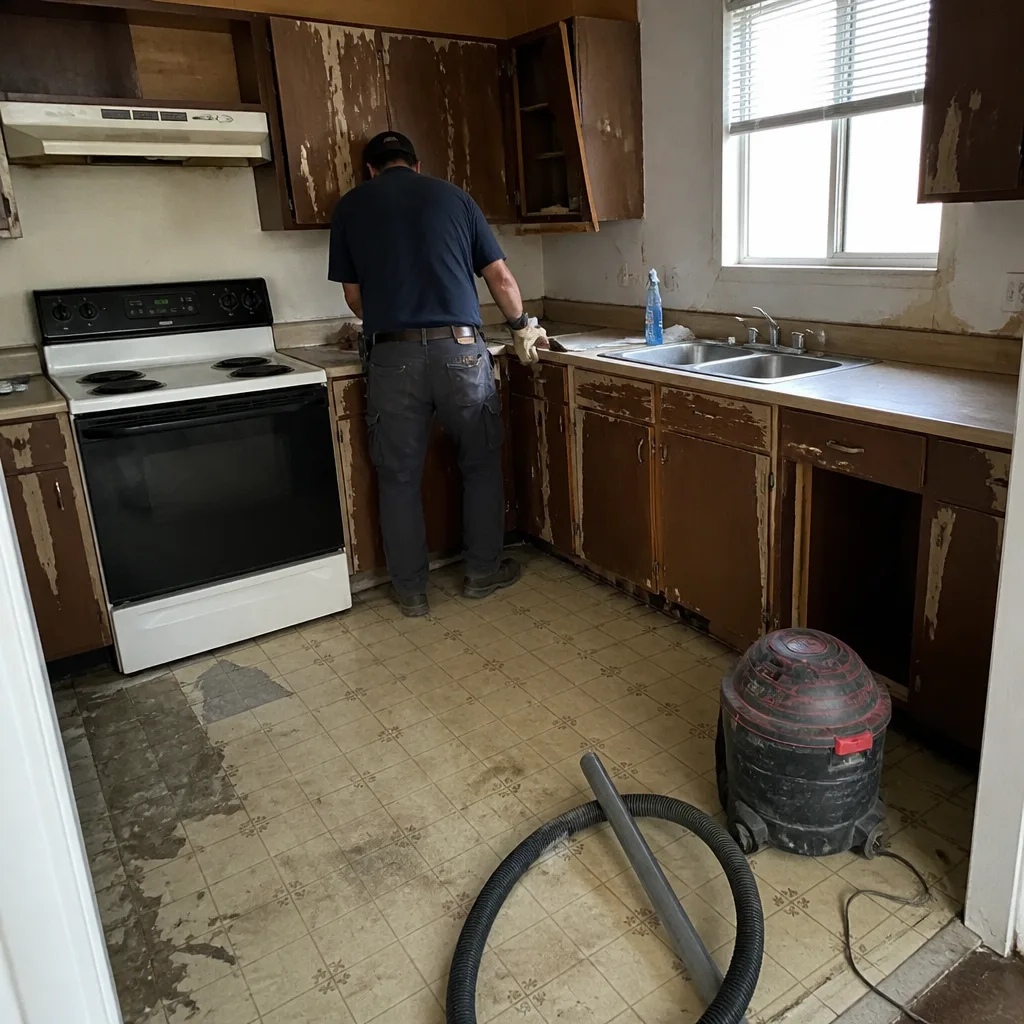 Before
 After
 Before
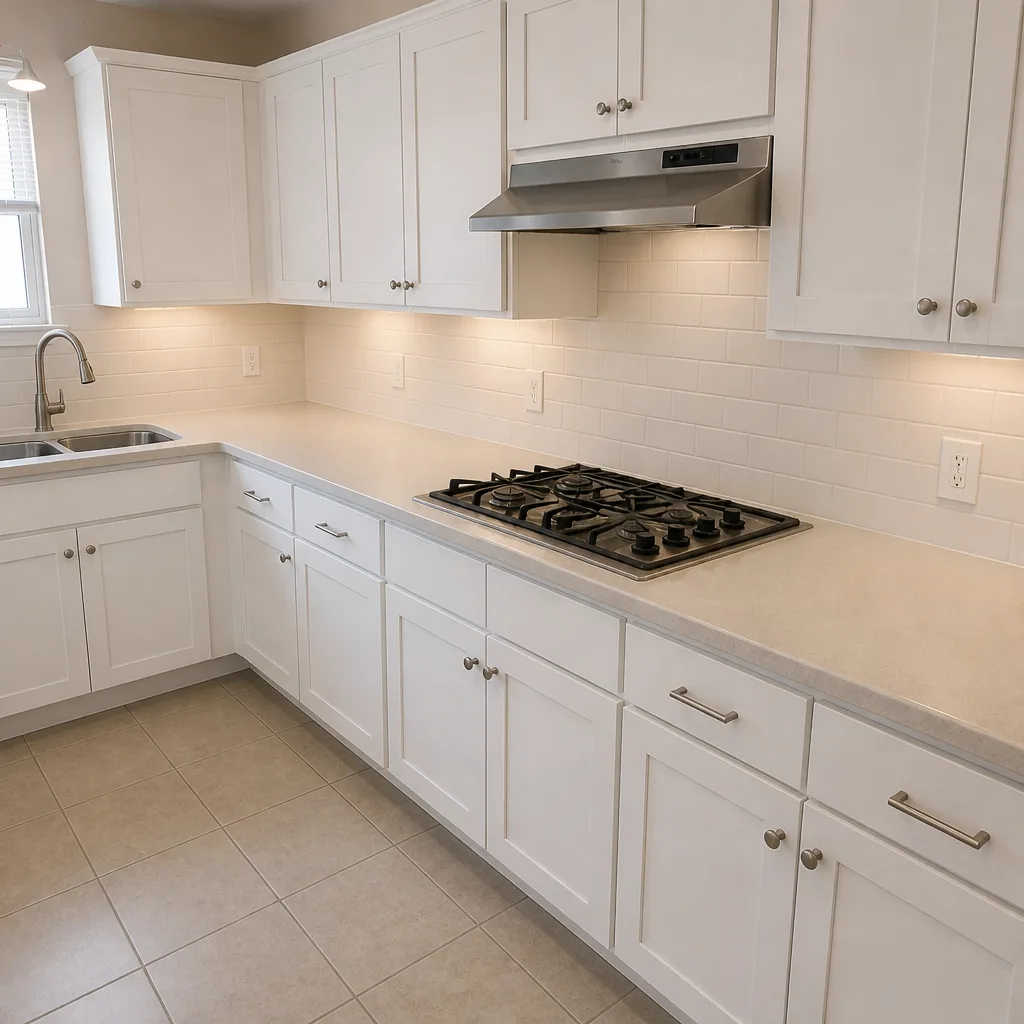 After
When to Call a Professional
Maintenance is a homeowner job. Repairs mostly aren’t. Call a professional if you find wobbly toilets, recurring damp spots under a vanity, any ceiling staining below the bathroom, water stains in adjacent rooms, grout that’s crumbling or discolored across a whole shower wall, mold, or an exhaust fan that won’t pass the tissue test after cleaning. Call us, too, if your bathroom is still within its original workmanship warranty – because a wobbly toilet or a shower-pan leak during that window is a warranty claim, and it should be fixed by the contractor who built it, not the homeowner.
Groundwork Construction Co. of North Las Vegas offers free estimates in North Las Vegas – call (844) 797-5026. Our technicians have up to 12 years of experience, and every project is backed by the 730-Day Done Right Promise – if it’s not done right, we make it right. When we do a repair or a bathroom rework, we walk you through the maintenance that protects the work.
Frequently Asked Questions

Every 12 to 18 months. That’s faster than the 2-to-3-year national guidance because North Las Vegas hard water breaks down sealers faster. Reseal in spring, before summer heat stresses the joints, using a penetrating sealer rather than a topical coating. Call (844) 797-5026 for a free estimate if you’re not sure whether your grout needs resealing or regrouting – we can tell you in a walkthrough.
Because dry air hides the signs that your fan is failing. In a humid climate, a bad fan makes the mirrors drip. In North Las Vegas, a bad fan just sends moisture into the wall cavity and the attic where you can’t see it, and it usually shows up as a roof-deck rot or ceiling stain years later. Run the tissue test monthly and clean the fan twice a year. Call (844) 797-5026 if the fan won’t pull a tissue flat even after cleaning.
Yes, regularly. Kohler finish warranties, tile and grout manufacturer warranties, and most shower-glass warranties require maintenance per the manufacturer’s instructions. If you don’t reseal or don’t clean with approved products, they can decline a claim even on a real manufacturing defect. Keep a short maintenance log with dates and products used. Call (844) 797-5026 for a free estimate if you’re unsure which of your products have maintenance requirements.
A wobbly toilet with a failed wax ring, usually on an upstairs bathroom, where the damage spreads across the subfloor before it drops. We catch it early if the homeowner has been doing the monthly wobble check. If it’s been wobbling for more than a few weeks, call a pro right away – it’s a $200 repair today, or a $3,000 to $4,000 subfloor- and drywall-repair job if you wait. Free estimates are available at (844) 797-5026.
DIY the monthly and seasonal tasks: cleaning grout, cleaning the fan grille, tissue-testing airflow, checking caulk. Bring in a professional for grout regrouting and re-caulking on a shower surround, wax ring replacement, any ceiling staining, and any exhaust-fan upgrade where the duct has to route through a wall or roof. Those involve plumbing and venting decisions where a mistake can be costly. Call (844) 797-5026 for a free estimate on anything you’re not comfortable doing – our technicians have up to 12 years of experience and arrive background-checked and in uniform.
How long does not maintaining a bathroom cost me in the long run?
Large. A $22,000 bathroom remodel with no maintenance tends to need major repair by year 8 to 10, driven mostly by grout and caulk failures and a fan that never worked. The same bathroom with monthly checks and annual inspections can go 20 to 25 years between full reworks. The maintenance schedule costs hours, not dollars, and the savings show up in every year the bathroom stays healthy. Call (844) 797-5026 for a free estimate on any repair or upgrade in North Las Vegas.
The Bottom Line
A bathroom remodel doesn’t stay new on its own. It needs monthly grout and caulk checks, a twice-a-year exhaust fan cleaning, a seasonal calendar of small tasks, and one deep annual inspection – and in North Las Vegas specifically, a grout reseal every 12 to 18 months to survive the hard water and heat. Keep a maintenance log so manufacturer warranties stay intact. Catch the wobbly toilet, the dark caulk line, and the failing fan before they become a $4,000 problem. Post-remodel maintenance is the last phase of your project, and it’s the phase that decides whether the work lasts 8 years or 25. Groundwork Construction Co. of North Las Vegas backs every project with the 730-Day Done Right Promise – if it’s not done right, we make it right – and calls are answered by a live person, 24/7. Reach out when you need a free estimate.
Start your next phase with us: call (844) 797-5026 for a free project estimate and design consult in North Las Vegas. The number you see is the number you pay – upfront pricing, no surprises. And if you’re weighing a larger renovation alongside your bathroom maintenance list, our Home Additions & ADU in North Las Vegas and Driveway & Pavers in North Las Vegas teams plan it with the same 730-Day Done Right Promise from foundation to finish line.
Written by the team at Groundwork Construction Co. of North Las Vegas.