Last updated November 18, 2026



Free written scope consultation - allowances, timeline, and change-order rules on paper before a single trade is scheduled
Home Additions & ADU Maintenance Schedule: What to Do and When
New construction caulk at the expansion joint between an addition and the original structure can fail in under 18 months in Las Vegas heat. That seam is where we see the most expensive damage on newer additions in North Las Vegas, and most homeowners don’t think to look at it until water has already tracked behind the wall. An ADU or addition isn’t finished the day you get the keys; it’s the day the maintenance clock starts. This guide lays out a real schedule for the first three years and beyond, built around the failure points that are specific to newly built square footage: fresh concrete, new roof transitions, extended HVAC runs, separate water heaters, and stucco that takes a desert sun beating.
Quick Answer
A newly built addition or ADU needs a walkthrough every 6 months and a deep inspection once a year. Year one focuses on settling cracks, caulk joints, grading and roof transition flashing. After that, add HVAC filter checks on the extended system every 30 to 90 days, anode rod and pressure relief valve checks on any separate water heater, stucco and trim recoating every 3 to 5 years depending on sun exposure, and an annual permit and rental compliance review if you rent the space. In North Las Vegas, the sun and summer monsoon swings make exterior maintenance the highest-priority item on the list.
Styles & brands we work with
- Kitchen remodeling
- Bathroom remodeling
- Home additions & ADU
- Roofing
- Windows & doors
- Driveway & pavers
- Fence
Table of Contents
- The Year-One Checklist for a New Addition in North Las Vegas
- Caulk Joints, Settling Cracks, and the Seam That Fails First
- Grading, Drainage, and Keeping Water Away From New Concrete
- HVAC Filters and Duct Inspection When You Extend a System
- Plumbing Tasks for ADUs With a Separate Water Heater
- How Las Vegas UV Degrades Stucco and Trim Faster Than National Averages
- Annual Permit and Rental Compliance Review for a Rented ADU
- A Full Year-by-Year Maintenance Calendar
The Year-One Checklist for a New Addition in North Las Vegas
Year one is when a new addition tells you how it’s settling. Concrete cures, framing dries out, and the joint between old and new materials moves at different rates. Here’s what we tell every homeowner in North Las Vegas to check during the first twelve months:
- Walk the perimeter at 30 days and 90 days. Look for hairline cracks in the new slab and stucco. Most are cosmetic, but a crack wider than a credit card is a signal to call someone out.
- Check the expansion joints between old and new. That seam is where caulk dries and pulls first. Run your hand along it and press; if the bead feels hard or lifts at the edge, it needs a fresh layer.
- Confirm grading slopes away from the new foundation. Water should run off at a visible fall, not pool against the slab. Settling can create a low spot within the first rainy season.
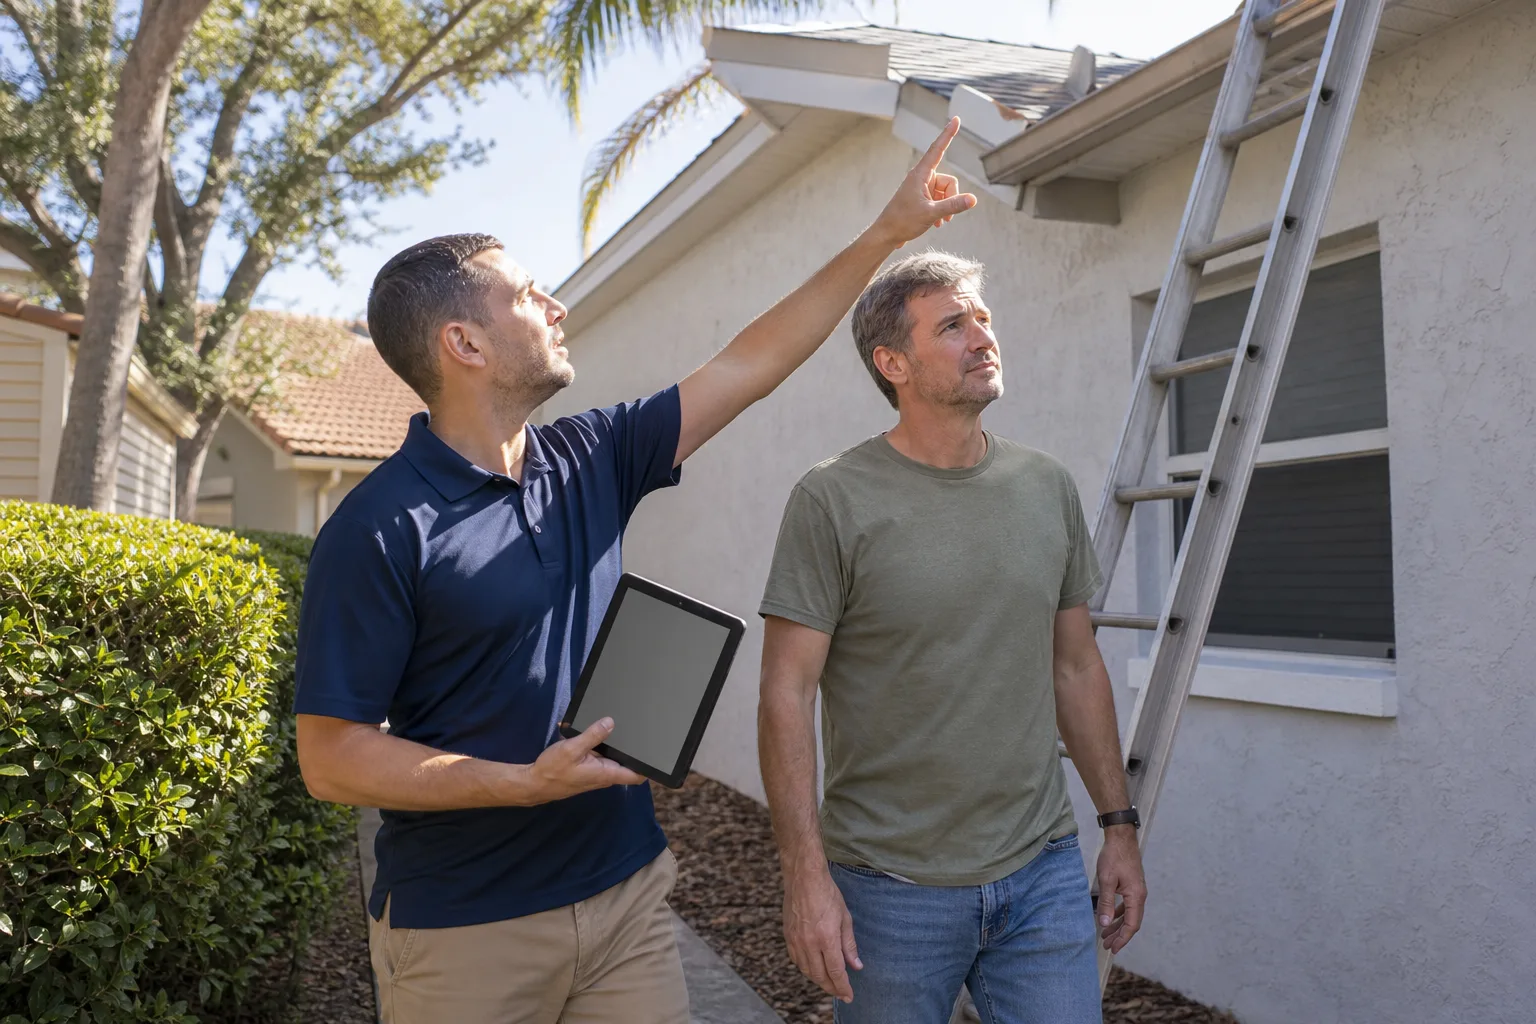
- Inspect roof transition flashing. Where the new roof meets the old, the flashing is the highest-risk joint on the whole addition. Look for lifted edges or gaps after the first big wind event.
- Test every outlet, light, and fixture. New circuits can trip under load a few weeks in; catch electrical issues early while they’re still a warranty conversation.
If your addition was built as part of a larger plan, the same first-year logic applies. Our Home Additions & ADU in North Las Vegas service handles the build, and this schedule keeps it healthy afterward. Don’t skip the 30-day walk; a foundation issue caught in month one costs a fraction of one caught in year three.
Caulk Joints, Settling Cracks, and the Seam That Fails First
The expansion joint between an addition and the original structure is the single most under-maintained part of new construction. The two buildings move independently with temperature swings, and in a North Las Vegas summer, exterior surface temps can climb high enough to cook standard caulk in a year. That’s why we see failures in under 18 months here, faster than the three-to-five-year life most national guides assume.
Here’s what to do:
- Inspect every 6 months, spring and fall. Press the bead along the roofline and wall seams. If it’s cracked, brittle, or pulling away, it needs replacement.
- Re-caulk with a UV-rated sealant. Standard interior caulk will fail in a single summer. Use a product rated for exterior high-heat use and stretch it into the joint, not just over the surface.
- Watch interior settling cracks. Hairline cracks at drywall corners or door frames are normal as framing dries. Cracks that widen over a season or let daylight through mean something is moving too much.
- Photo-document each inspection. A dated photo of a crack gives you a record if a warranty claim comes up later. It’s the cheapest insurance you’ll ever buy on a build.
A failed caulk joint doesn’t announce itself. Water gets in behind the stucco, sits against the framing, and shows up as a stain on an interior wall weeks later. By then the repair is a wall, not a bead of sealant. Check the seam before the rain, not after.
Grading, Drainage, and Keeping Water Away From New Concrete
New concrete and a fresh foundation are only as dry as the ground around them. In North Las Vegas, we get long dry spells interrupted by hard, fast storms, and water that has nowhere to go finds the path of least resistance: down along a new foundation wall. The soil around a new addition also settles differently than the older yard, so a slope that drained fine on day one can belly toward the slab within a year.
Check these once a season, and always after the first storm that actually runs water:
- Walk the drip line. Water should flow away from the addition for at least several feet of visible fall. If it pools at the base of the new slab, the grade needs adjusting.
- Inspect any downspouts and extensions. Make sure they discharge well past the new foundation, not straight down onto it.
- Look for soil erosion at the slab edge. A gap between soil and concrete is a sign settlement is redirecting water. Fill and re-slope it.
- Check pavers and flatwork for ponding. Any low spot in new pavers or a patio slab is a puddle waiting for the next storm. The best fix is early, while the base is still stable.
If your addition came with new hardscape, matching maintenance rules apply to the driveway and patio. Our Driveway & Pavers in North Las Vegas service handles the flatwork side when grading is already causing trouble.
HVAC Filters and Duct Inspection When You Extend a System
When a system gets extended to serve new square footage, the maintenance intervals change. A duct run that was tuned for the original home now has more reach, more static pressure, and more air to condition. In our experience, homeowners with a new addition feel it first in the thermostat: the new room runs hot in August or cold in January while the rest of the house is fine. That’s usually a duct and balancing issue, not a unit that’s failing.
Your intervals for an extended system:
- Filter changes every 30 to 90 days. A larger system moves more air and loads filters faster. In dusty North Las Vegas spring months, lean toward the 30-day end.
- Duct inspection every 6 to 12 months. Check the new runs for disconnected joints, crushed flex duct, or leaks where the addition ties into the original trunk. A small leak in the new run is a big energy bill.
- Static pressure check at year one. A qualified tech should confirm the extended system is balanced and not straining to push air into the new room.
- Return-air check. Make sure the new space has adequate return path. A room with supply but weak return stays uncomfortable no matter how many filters you change.
Don’t wait for a unit to fail before looking at the system that serves the new space. A pressure check in the first year can catch a duct problem while it’s still a fix, not a replacement.
Plumbing Tasks for ADUs With a Separate Water Heater
An ADU often gets its own water heater, and a water heater nobody looks at is a water heater that dies early. The two tasks that matter most are the anode rod inspection and the pressure relief valve test, and both are simple enough to schedule and dangerous enough to leave to a pro. Hot water tanks hold scalding water under pressure, and we don’t recommend homeowners open them up on a DIY basis.
What your maintenance should cover, and how often:
- Anode rod inspection: annually. The rod sacrifices itself to protect the tank from corrosion. In North Las Vegas water, it can be consumed faster than average. A tech pulls and checks it; replacing a worn rod is far cheaper than a new tank and the water damage that comes with a failure.
- Pressure relief valve test: annually. This valve is what stands between a normal tank and a dangerous pressure event. It is a test-for-function, not a repair; if it doesn’t operate correctly, it gets replaced, period.
- Flush the tank: annually. Sediment collects at the bottom and shortens the tank’s life. A professional flush clears it.
- Check supply lines and shutoffs: every 6 months. Look for corrosion or weeping at the connections. The ADU’s separate shutoff should be labeled and working.
These are exactly the items that never make it onto a homeowner’s to-do list because the water heater is in a closet behind a door. Put them on the calendar and keep the ADU’s plumbing safe.
How Las Vegas UV Degrades Stucco and Trim Faster Than National Averages
National maintenance schedules are written for average sun, and North Las Vegas isn’t average. We’re in one of the sunniest, harshest exterior environments in the country, with long stretches of cloudless days and summer heat that bakes south- and west-facing walls. Paint chalks and fades faster here. Stucco and trim take more abuse in a single year than they would in three in a milder climate. That’s why recoating intervals that work elsewhere need to be shortened for an ADU or addition here.
What we’ve seen for exterior finishes on a newer addition in North Las Vegas:
- Stucco and trim recoating: every 3 to 5 years. Lean toward the shorter end on sun-facing walls. Inspect for chalkiness and fading each spring and let the condition of the finish, not the calendar alone, tell you when it’s time.
- Caulk and sealant: inspect every 6 months, replace as needed. UV is the top killer of caulk, and the exposure angle on an addition often puts seams in full afternoon sun.
- Paint touch-ups: as soon as chalking starts. Waiting for visible peeling means the substrate is already exposed.
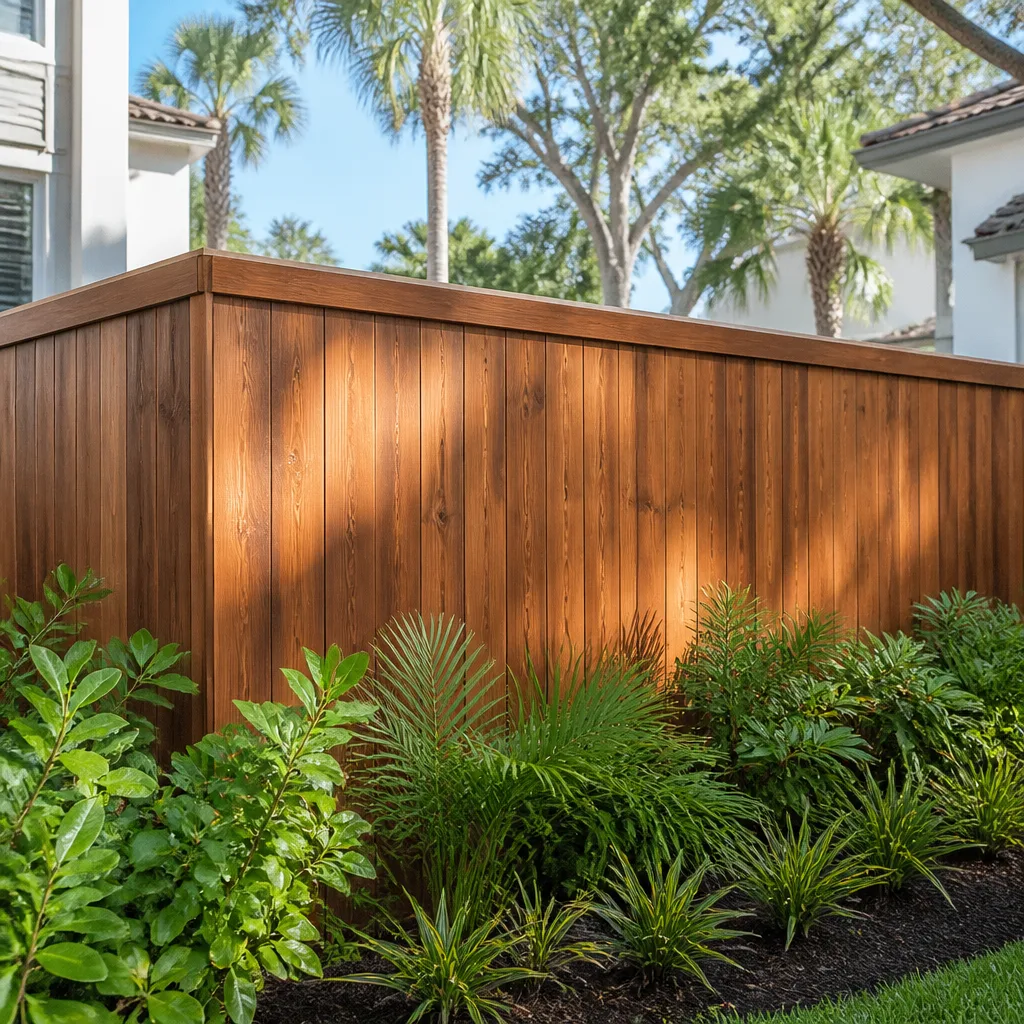
- Fence and privacy screens: inspect annually. Sun degrades wood and vinyl fencing around the addition too, and a failing fence line lets wind-driven dust pack against the new wall.
High-quality exterior finishes and trusted brand partners do real work here, but no finish outruns the sun forever. If you’re extending fencing or privacy screening around the addition, our Fence Installation in North Las Vegas service keeps the perimeter sound. The point is to recoat on our local clock, not a national one.
Annual Permit and Rental Compliance Review for a Rented ADU
If you rent the ADU, maintenance and compliance are the same job. An annual review keeps you on the right side of local rules and protects your investment. North Las Vegas and Clark County have specific requirements around ADU use, occupancy, and rental, and those rules can shift. A quiet check once a year is far cheaper than a violation discovered by complaint.
Your annual compliance review should cover:
- Confirm the ADU is permitted for the use you have. Renting a space that’s permitted as a guest house, not a rental unit, creates problems fast. Pull your permit records and confirm the classification matches how it’s actually used.
- Check rental occupancy and unit rules. The number of occupants, parking, and short-term versus long-term rental status each have their own rules. Confirm what applies to your unit and document it.
- Verify smoke and carbon monoxide alarms and egress. Rental units typically carry stricter safety requirements than a personal-use addition. Test and replace as needed.
- Confirm the rental registration or business license status. If the jurisdiction requires registration to rent, keep it current and filed where you can find it.
- Keep a maintenance log. Dated records of inspections and repairs are the fastest way to show compliance and back up any warranty claim on the build or its systems.
Rules change, and the easiest way to stay current is a yearly review rather than a scramble when something comes up. This is also when you check that the systems serving the rental are on schedule, not just the structure.
A Full Year-by-Year Maintenance Calendar
Here’s the whole schedule in one place. Use it as your standing checklist, and adjust timing for the North Las Vegas seasons: heavy sun in summer, wind and dust in spring, and the occasional hard monsoon storm.
Every 6 Months (Spring and Fall)
- Inspect and re-caulk expansion joints between the addition and the original structure.
- Walk the full perimeter for settling cracks and note changes with photos.
- Check grading and drainage away from the new foundation and flatwork.
- Test the ADU’s water heater connections and shutoffs for corrosion or weeping.
- Inspect stucco, trim, and fencing for UV chalk and fading.
Every 12 Months
- Inspect roof transition flashing at the seam between new and old roof.
- Anode rod inspection, pressure relief valve test, and tank flush on any separate water heater.
- Duct inspection on the extended HVAC system and a manual J style comfort check if rooms feel uneven.
- Permit and rental compliance review if the ADU is rented.
- Exterior recoat decision: touch up now or schedule for the year based on finish condition.
Every 30 to 90 Days
- HVAC filter changes on extended systems, more often in dusty spring months.
Every 3 to 5 Years
- Full stucco and trim recoat, on the shorter end for sun-facing walls.
- Review and refresh all exterior sealants and weatherstripping.
Common Mistakes to Avoid
- Treating the addition like the original house. The original home’s maintenance rhythm was set years ago. New construction has its own curve: the first 18 months are about settling and joints, not the checklist you use for a 20-year-old wall.
- Ignoring the seam between old and new. The expansion joint is where water gets in first and where the fix is cheapest. Every failed caulk seam we see on an addition started as a bead someone stopped looking at.
- Waiting for a visible leak before checking the roof transition. On a new addition in North Las Vegas, water behind a flashing gap shows up inside weeks after it starts, and the stain is the last thing you see, not the first. Inspect the flashing, don’t wait for the ceiling.
- Changing the HVAC filter on the old house only. The extended system serves new square footage and moves more air. Filters need attention on the new timeline, not just whenever you think of it.
- Skipping the water heater because it’s out of sight. An ADU’s separate tank sits in a closet and quietly corrodes. The anode rod and relief valve are the two things that prevent a tank failure, and they’re too often never checked.
- Recoating on a national schedule. A finish life that works in a mild climate runs short here. Sun-facing stucco in North Las Vegas fades and chalks on a faster timeline, and a finish left too long leaves the substrate exposed.
- Renting an ADU without an annual compliance review. Permit classification, occupancy, and registration rules can shift. An annual review keeps the rental legit and protects the value of the whole investment.
Most of these boil down to one habit: look at the new square footage on a schedule, not when something goes wrong. A 30-minute walk twice a year catches the failures before they’re repairs. If you’d rather not track it yourself, our Groundwork Construction Co. of North Las Vegas home page covers the full range of services, and free estimates are the way most North Las Vegas homeowners start.
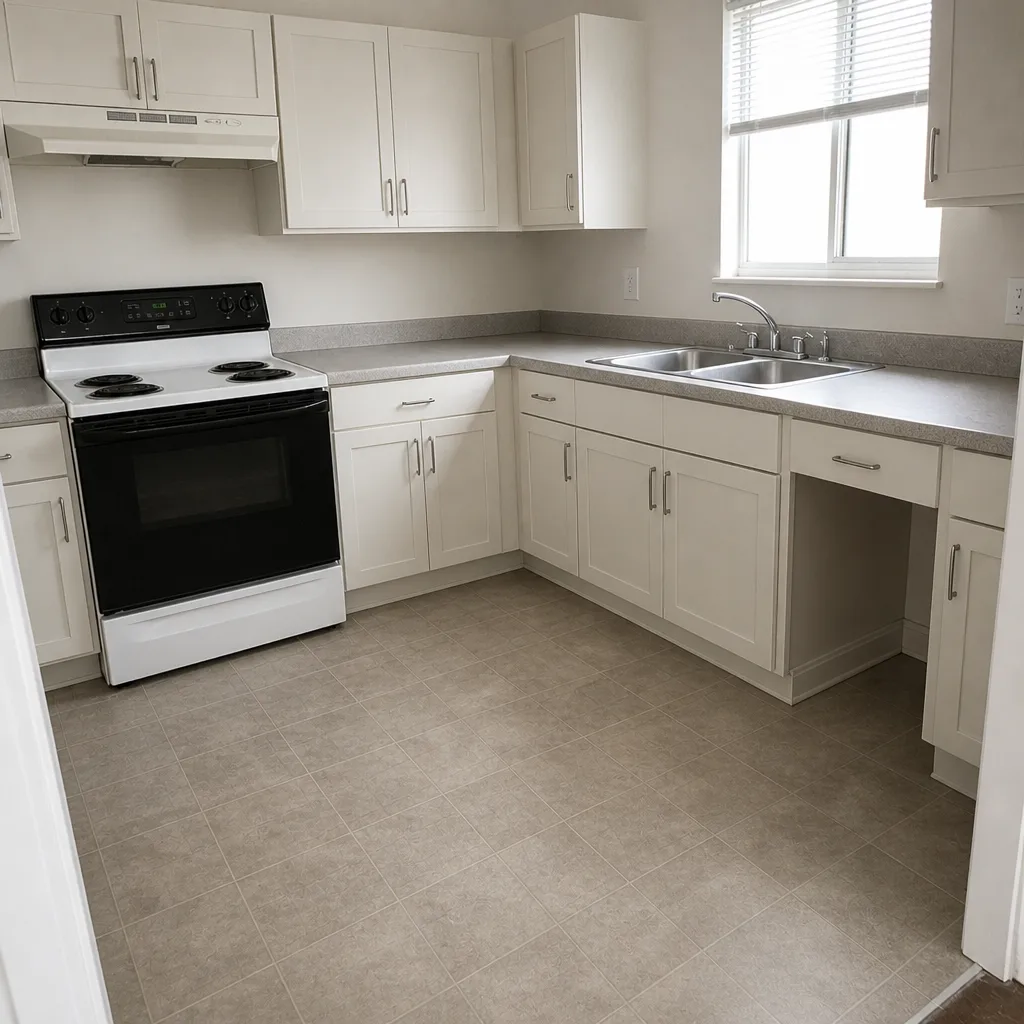
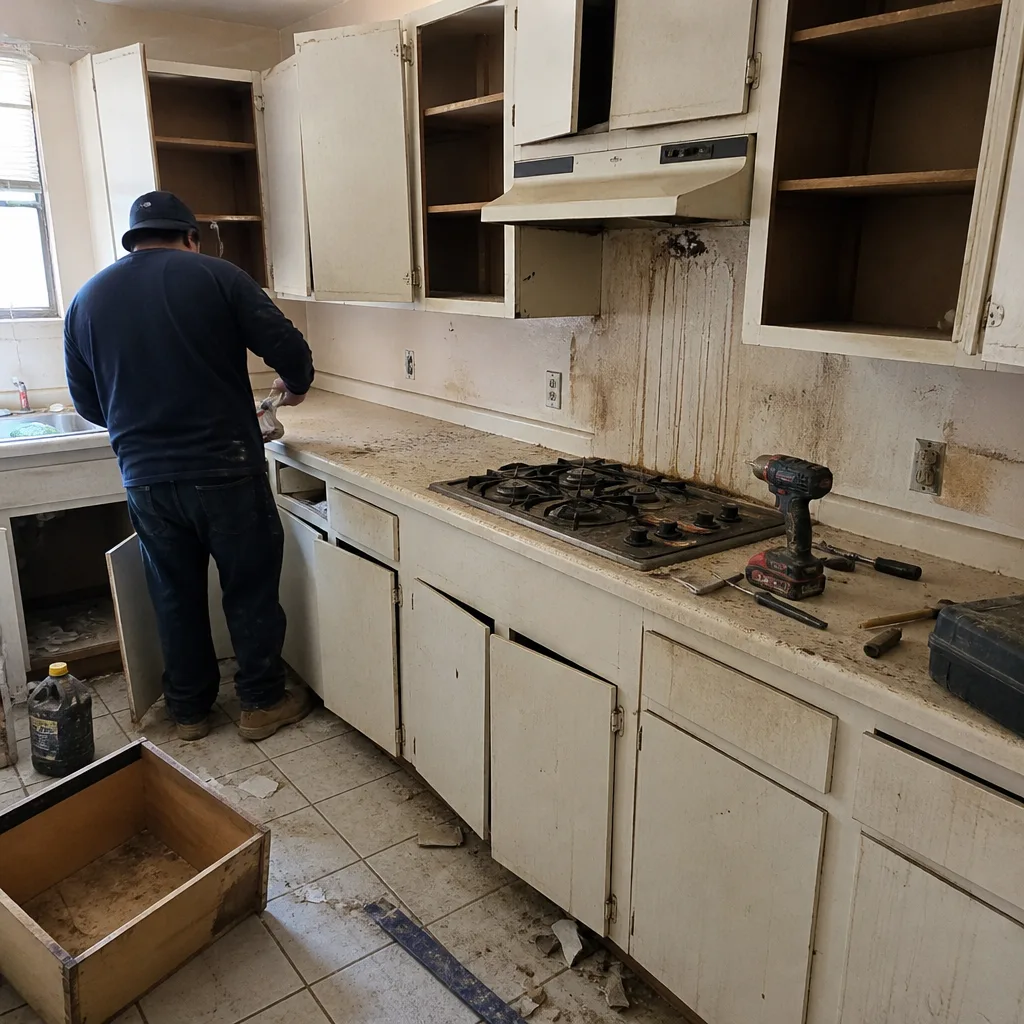
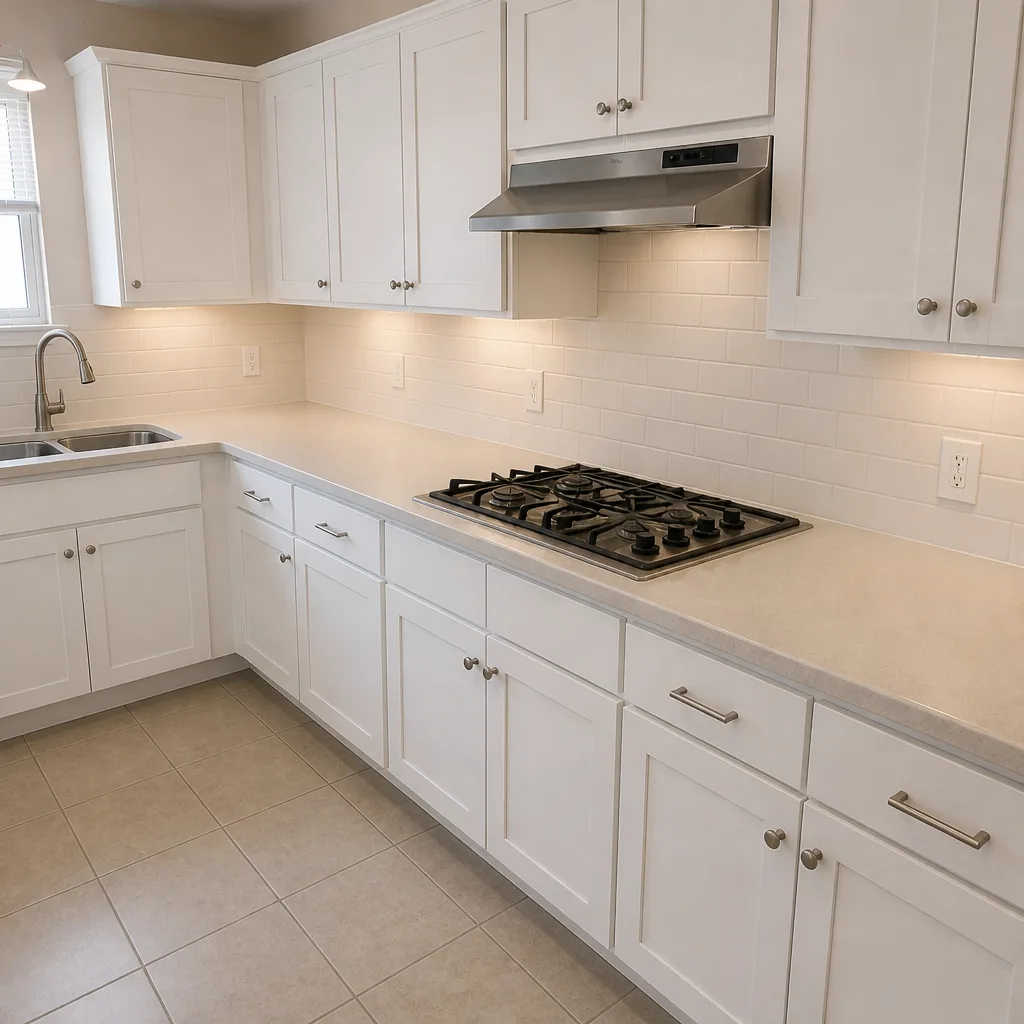
See the difference
 Before
 After
 Before
 After
 Before
 After
When to Call a Professional
Some tasks on this list are homeowner-checks, and some need someone who’s been on a job site. Call a professional when you find a crack wider than a credit card, water staining on an interior wall near the roof seam, a relief valve that won’t open or reseat, or a room that stays uncomfortable no matter how often you change the filter. Those point to structural, plumbing, or HVAC issues that get worse with time. Also call for any task on the list you simply don’t want to do yourself, which for most people is the water heater work. Groundwork Construction Co. of North Las Vegas offers free estimates in North Las Vegas, and our technicians have up to 12 years of experience. Call (844) 797-5026 to schedule yours.
Frequently Asked Questions

Every 6 months, spring and fall. In our experience, the expansion joint between the addition and the original structure can fail in under 18 months here because of the heat and UV exposure. Press along the bead and replace any section that’s cracked, brittle, or lifting. Call (844) 797-5026 if you’d rather have a pro take a look, free estimates are available.
Yes, that test should be done by a professional. A water heater holds scalding water under pressure, and a relief valve that is stuck or fails to reseat can create a serious hazard. The annual check covers the anode rod, the relief valve, and a tank flush. Call (844) 797-5026 to schedule it, the estimate is free.
Every 30 to 90 days, leaning toward 30 days in North Las Vegas’s dusty spring months. An extended system moves more air and loads filters faster. If one room in the addition stays hot or cold, that usually signals a duct or balancing issue on the new run, so call (844) 797-5026 for a free estimate before it becomes a bigger repair.
Within 30 days, then again at 90 days, and again after the first big storm. Settling, grading, and caulk all show their first signs early. Catch them in the first season and the fixes stay small. Groundwork Construction Co. of North Las Vegas handles free estimates for North Las Vegas, call (844) 797-5026 to set one up.
Yes, it adds an annual permit and rental compliance review. Confirm the ADU is permitted for rental use, check occupancy and registration rules, and verify smoke and CO alarms and egress. A dated maintenance log makes the whole review simpler. Call (844) 797-5026 for a free estimate on any work the review turns up.
Every 3 to 5 years, on the shorter end for sun-facing walls. Our UV exposure degrades finishes faster than national averages, so let the condition of the finish (chalk, fading, exposed substrate) drive the timing, not just the calendar. Call (844) 797-5026 and we’ll take a look and give you a free estimate.
The Bottom Line
A new addition or ADU has its own maintenance curve, and the first three years matter most. Check the expansion joint every 6 months, walk the perimeter twice a year, inspect roof transition flashing annually, keep filters on the extended HVAC system every 30 to 90 days, service any separate water heater once a year, and recoat sun-facing stucco on a 3-to-5-year cycle. If you rent the ADU, add the annual permit and compliance review. Do these and the structure you built stays an asset instead of a repair bill. In North Las Vegas, the sun sets the schedule, so follow it. Groundwork Construction Co. of North Las Vegas is here when you want a pro’s eyes on it, with upfront pricing and a 730-Day Done Right Promise on the work we do.
When you’re ready for a hands-on look at your addition or ADU, or you’re planning the next one, call (844) 797-5026 for a free estimate and design consult. Tenants and weather don’t keep a schedule; your maintenance calendar should.
Written by the team at Groundwork Construction Co. of North Las Vegas.