Last updated November 18, 2026
Free written scope consultation - allowances, timeline, and change-order rules on paper before a single trade is scheduled
Driveway & Pavers Troubleshooting: Common Problems and How to Fix Them
That single sunken paver isn’t the problem – it’s the symptom. Replacing just that paver without fixing the washed-out sand bed underneath guarantees you’ll be back in the same spot within one rainy season. In our experience across North Las Vegas, the desert climate plays a role most homeowners don’t expect: our monsoon bursts, shrink-swell soil, and caliche layers create failure patterns you won’t see in a coastal paving guide. The good news is that most paver problems – sunken sections, wobbly stones, white powder on the surface, cracks in the joint sand – have a root cause that’s fixable without tearing out the whole driveway, if you catch them at the right stage. This guide teaches you to diagnose before you spend.
Quick Answer
Most driveway paver problems in North Las Vegas fall into three fixable categories – settling from poor base compaction, efflorescence from mineral salts rising through the surface, and joint sand loss from wind and monsoon runoff – and each has a targeted repair that costs far less than full replacement. The key is correctly identifying which category you’re looking at, because repairing the wrong layer wastes money and guarantees a repeat failure. If a paver is rocking, a section has dropped more than half an inch, or the base below is soft when you probe it, stop and get a professional assessment before you touch anything.
Styles & brands we work with
- Kitchen remodeling
- Bathroom remodeling
- Home additions & ADU
- Roofing
- Windows & doors
- Driveway & pavers
- Fence
Table of Contents
- Why do driveway pavers sink and settle?
- What is the white powder on my pavers?
- Cracks in the joint sand vs. cracks in the paver
- How to re-level a single sunken paver
- Caliche, tree roots, and the base-layer failure zone
- Preventing paver problems in the desert climate
- Common mistakes to avoid
- When to call a professional
Why do driveway pavers sink and settle?
Driveway pavers sink for one of three reasons: the base layer wasn’t compacted correctly, water has washed out the sand bedding, or the soil underneath has shifted because of root intrusion or a failing subgrade. In North Las Vegas, the third cause is more common than builders from wetter climates would expect. Our soils range from tight caliche to sandy loam near washes in areas like Aliante and the far north edge of town, and each behaves differently under a paver base.
Here’s how to tell the difference before you call anyone.
- Localized dip, one or two pavers: almost always a washed-out sand bedding layer. Surface water found a low spot and ran through the joints. Fixable without touching the neighbors.
- Broad, shallow depression across a section: usually weak base compaction. The gravel base wasn’t compacted in lifts, so it gradually densified under load.
- Deep, sudden drop near a tree or landscape feature: root intrusion or subgrade movement. Stop poking around and get an assessment.
- Paver wobbles when you step on it: lost bedding contact. Doesn’t always mean the whole area is failing, but it’s the earliest warning sign and the cheapest to fix.
Sound familiar? We see this constantly in older North Las Vegas neighborhoods where driveways were installed before modern base-compaction standards were common. The good news is that a proper Driveway & Pavers in North Las Vegas installation uses a compacted aggregate base with a stabilizing geotextile fabric, which eliminates the first two causes entirely.
What is the white powder on my pavers, and when is it serious?
White powder on paver surfaces is called efflorescence – mineral salts drawn up from the base layer or the concrete below, deposited on the surface as the moisture evaporates. In most cases it’s cosmetic and harmless. But there’s a version of efflorescence that signals real trouble underneath.
The distinction is moisture origin. If you see efflorescence after a rainstorm and it fades in a few dry days, the water entered from above and moved through. If you see efflorescence blooming in dry weather with no recent rain, water is rising from below – either the subgrade is saturated, a sprinkler line is leaking under the driveway, or the base layer has become a sponge that can’t drain. That’s the version that precedes settling.
How to tell them apart
- Note the timing. Bloom appears after rain and disappears in 3-5 dry days? Surface moisture. Bloom appears in dry weather? Water from below.
- Check the joint sand. If joints are intact and full, water entered from above or through a local low spot. If joints are washed out or sand has disappeared, water is moving through and drying from the joint line rather than the paver face.
- Look for paver discoloration. Dark streaks surviving after dry weather usually mean moisture is trapped under that specific section.
- Probe the base. Using a stiff wire pushed into a loose joint, check if the sand bedding feels damp below the surface. Damp in mid-summer means a leaked irrigation line or failing drainage.
Efflorescence itself is removable with an acid-based cleaner designed for pavers – not muriatic acid on a concrete-adjacent surface, and never on natural stone. But cleaning without fixing the moisture source just resets the clock. In our experience, half the efflorescence calls we see in North Las Vegas trace back to a leaking sprinkler head or a landscape slope that drains toward the driveway instead of away.
Cracks in the joint sand vs. cracks in the paver: which is the emergency?
A crack in the joint sand is maintenance. A crack in the paver surface is a load or movement warning. That’s the simplest way to think about it.
Joint sand cracks appear as a thin groove or gap running along the lines between pavers. This is normal wear, especially after a monsoon season when heavy water flow pushes sand out of the joints. It matters because joint sand is what locks the pavers together on a polymeric or sand-set system. Lose the sand, lose the interlock, and the pavers start shifting independently. You’re not in danger – you’re on a countdown. Re-sand within 3-6 months and you’ll never notice the failure happened.
Cracks in the paver itself tell a different story. They mean something is applying force the paver can’t take.
- Hairline crack across the face: usually a manufacturing defect or a paver laid over a soft spot. Often a single-paver replacement.
- Crack radiating from a corner: base failure or point-load damage. Often the crack is the top of the iceberg.
- Multiple cracks on adjacent pavers in a line: subgrade movement or root intrusion. Needs professional assessment.
- Paver sheared off at the edge near a curb or gutter: vehicle load over an unconfined edge. Needs a proper edge restraint, not just a replacement paver.
The emergency signal is this: if you can see the base or soil through a crack, hear hollow sounds when you tap adjacent pavers, or if the crack appeared suddenly rather than gradually, get an assessment before the next rain. Water follows cracks, and in North Las Vegas our monsoon runoff volume in a single storm can wash out a base layer that took years to settle.
How to re-level a single sunken paver (step-by-step)
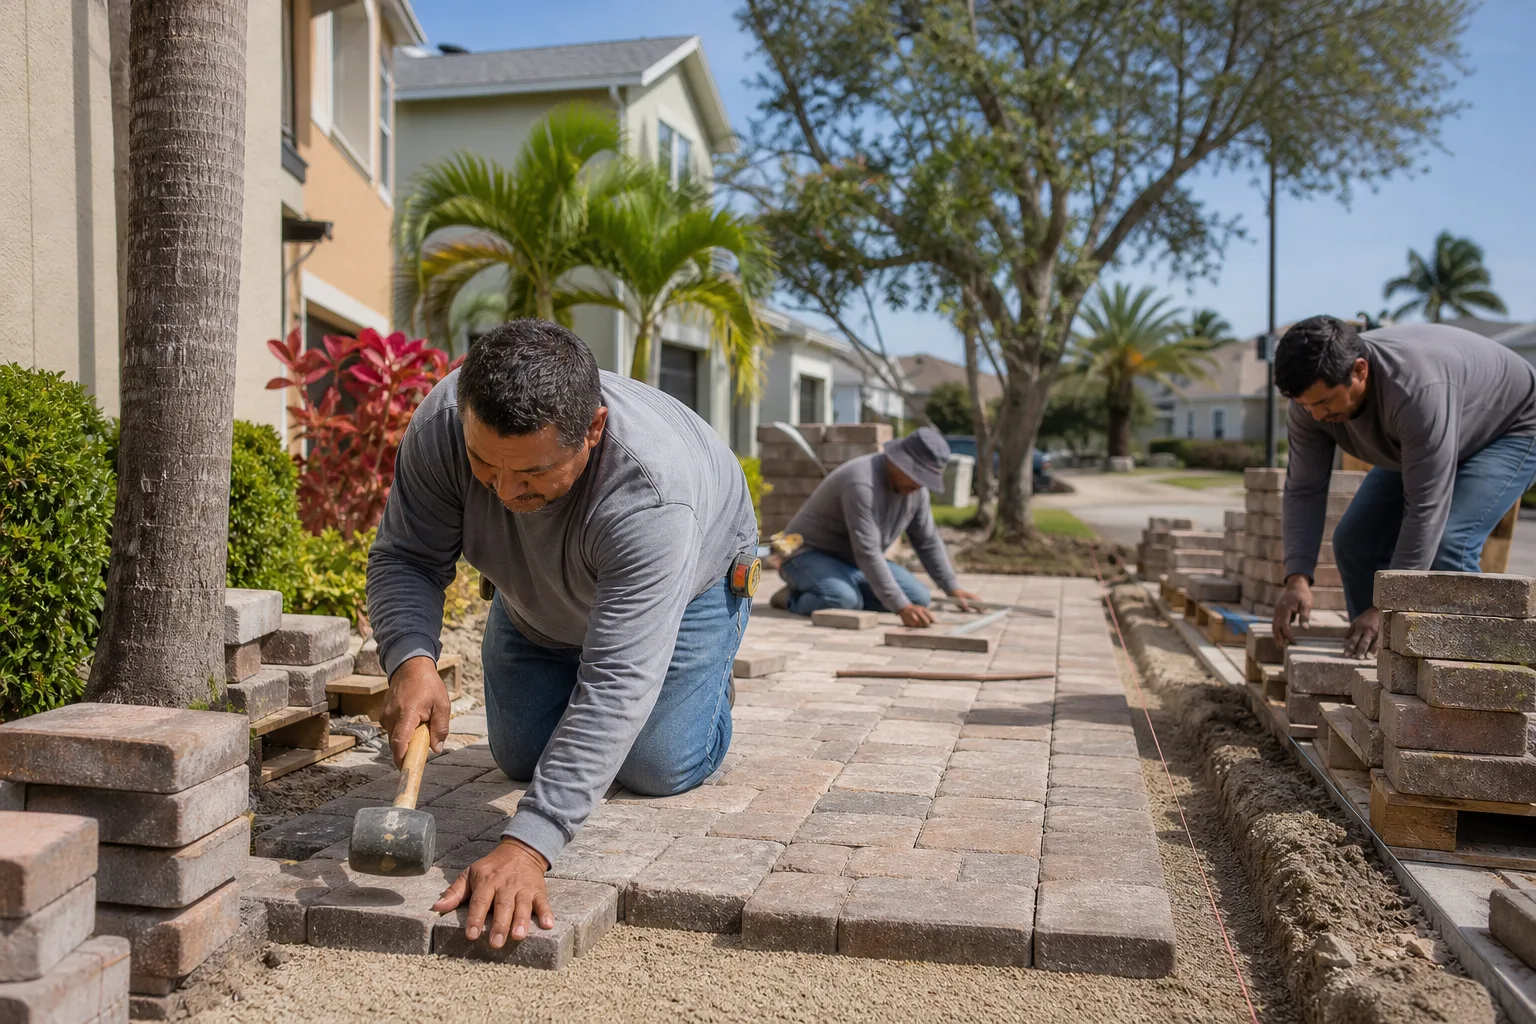
Re-leveling one sunken paver is a real DIY job if the surrounding section is intact and stable. It’s also the fix most homeowners botch by skipping step three. Here’s the process.
- Check that the neighbors are stable. Walk across the surrounding 4-6 pavers. If any rock or feel hollow, you’re not doing a single-paver repair, you’re doing a section repair – call a professional.
- Identify the paver and its edge. Mark it with chalk at all four corners so you know exactly what goes back where.
- Lift the paver with two pry bars, working from opposite joints. Do not lever against the adjacent paver faces – you’ll chip the edges. Slide pry bars into the joint and lift evenly.
- Inspect the bedding layer. This is the diagnostic step most people skip. If the sand underneath is damp, has washed out, or feels soft to the touch, the problem isn’t the paver – it’s that water has been running under this specific spot. Find the source before you put anything back.
- Add and compact the bedding. Top off with concrete sand (not play sand – it lacks the angularity needed for interlock), level with a screed board, then compact in place with a hand tamper. Do not add sand without compacting it.
- Reset the paver and compact again. Set the paver, tap it into plane with a rubber mallet against a straightedge laid across the surrounding section, then compact the whole area once more.
- Re-sand the joints. Sweep polymeric joint sand into the joint, allowing 1/8 to 1/4 inch to sit below the chamfer, then mist lightly per the product instructions.
Total time: about 45 minutes for one paver. What you’re checking for is uniformity across the adjacent section – if the paver you reset sits proud of its neighbors by more than 1/8 inch, the problem is a section, not a paver.
Caliche, tree roots, and the base-layer failure zone
Three causes of paver problems in North Las Vegas require more than a local repair. We’ve seen all three many times, and the difference between fixing them properly and patching them badly comes down to whether the base layer is treated as a structural element or as backfill.
Caliche layer failure
Caliche is a naturally cemented layer of calcium carbonate that forms in desert soils. It’s common in the north and west edges of the valley, especially in areas where lots were graded through existing caliche shelf. The problem is drainage. A caliche layer under a poorly-draining paver base becomes a bathtub – water can’t percolate down and instead sits under the base until the base itself saturates and voids form. The symptom is broad, soft depressions across a section, often with persistent efflorescence that won’t stop blooming.
A local repair on top of a caliche failure will fail again within one to two seasons. The correct fix is to remove the adjacent pavers in the affected zone, break up or perforate the caliche shelf, re-compact the subgrade, and rebuild the base layer with proper aggregate and a drainage path. That’s a section repair.
Tree root intrusion
Mesquite, palo verde, and desert willow are common landscape trees in North Las Vegas, and their roots travel farther than most homeowners expect – often 2-3 times the canopy radius. When a root heaves a section of pavers, removing the visible root and re-sanding is a 6-month fix. The root comes back and pushes again. The correct repair installs a root barrier along the tree side of the affected zone, at the depth of the root zone, before the pavers are re-laid. Without the barrier, you’re just re-doing the same job.
How thick does a paver base need to be in North Las Vegas?
For a residential driveway, our standard base is 4-6 inches of compacted class II aggregate, in 2-inch lifts, over a compacted subgrade with a geotextile fabric separator. Under vehicle traffic on clay-heavy soils, that climbs to 6-8 inches. Anything thinner is a 5-year driveway. This matters when you’re troubleshooting because it tells you whether a settling problem is a normal maintenance item or an underlying construction deficiency – and a base that was installed at 2 inches never had a chance.
If you’re planning an installation or full replacement rather than a repair, our guide on Driveway & Pavers in North Las Vegas covers base construction, paver selection, and what proper site prep looks like before the first stone goes down.
Preventing paver problems in the desert climate
Desert pavers age differently than pavers in wet climates. The cycle is intense sun, sudden monsoon water volume, then months of dry heat. That cycle is what kills base layers and washes joint sand no matter how well the driveway was initially built.
The maintenance rhythm that works in North Las Vegas looks like this:
- Once in spring: Check the joint sand across the whole driveway. Anywhere you can push a key into the joint without resistance, top off. Full re-sand every 3-5 years is normal.
- Before monsoon season (roughly June): Walk the perimeter and check that the paver edge is still held by the edge restraint. A popped or lifted edge restraint is what lets water run under the pavers during the first big storm.
- After any storm that visibly pooled water: Look for new low spots or dark streaks the same week. Water finds the same failure path each time – catching it within days costs a fraction of catching it months later.
- Annually: Check landscape irrigation. A single leaking drip emitter under pavers can create an efflorescence bloom and a settling void within one season.
- Every 2-3 years: Clean the surface with a paver-specific cleaner and re-seal if you have decorative pavers that are losing color to sun exposure.
In our experience, the driveways that reach 20 years without needing a section repair are the ones where joint sand was maintained, edges were kept tight, and water was always routed off the surface instead of into it. It genuinely is that simple. If you’re not comfortable doing this yearly walkover yourself, a maintenance check is a small insurance policy on a surface that represents a real investment.
Common Mistakes to Avoid
- Replacing the sunken paver without fixing the bedding. The new paver drops within one wet season because the void underneath was never filled. Always diagnose the layer below before you replace the surface.
- Using play sand in the joints. Play sand lacks the angular grains needed for interlock and washes out in the first monsoon. Use concrete sand or polymeric joint sand, always.
- Ignoring efflorescence that blooms in dry weather. Dry-weather bloom means water is rising from below. Treating it cosmetically with a cleaner and seal adds a barrier that traps water and accelerates the failure underneath.
- Pressure-washing pavers at close range. High-pressure washing strips the joint sand and erodes the bedding. If you must pressure-wash in North Las Vegas, use a surface cleaner at low pressure and re-sand the same month.
- Cutting roots without a root barrier. Any tree-root repair without a physical barrier along the tree side of the affected zone is a temporary fix. Mesquite in particular will be back.
- Topping up without compacting. Adding sand on top of a soft base without compacting in lifts just delays the settling. Compaction matters as much as material.
- Sealing a driveway that isn’t fully dry. Sealing over trapped moisture in North Las Vegas in the middle of summer traps the efflorescence under the sealer and makes the problem permanent. Wait for three consecutive dry days minimum.
When to Call a Professional
The point where a DIY repair becomes a liability risk is when you can’t guarantee the base under the repair area is sound. That happens in four scenarios: a section drop of more than 1/2 inch across multiple pavers, visible water pooling near the driveway after rain, efflorescence that keeps returning after cleaning, and cracks radiating from a corner into adjacent pavers. Any of those signals that the failure is in the base layer, not the surface, and local patching will look fixed for a few months and then fail again.
There’s also a genuine safety line. If pavers are rocking enough that someone could trip, or if an edge near a garage apron or curb has lifted out of plane, it’s a pedestrian hazard and a water intrusion point at the same time. Groundwork Construction Co. of North Las Vegas offers free estimates in North Las Vegas – call (844) 797-5026. Our technicians have up to 12 years of experience diagnosing exactly these failures, and our 730-Day Done Right Promise covers the repair in writing – if it’s not done right, we make it right.
See the difference
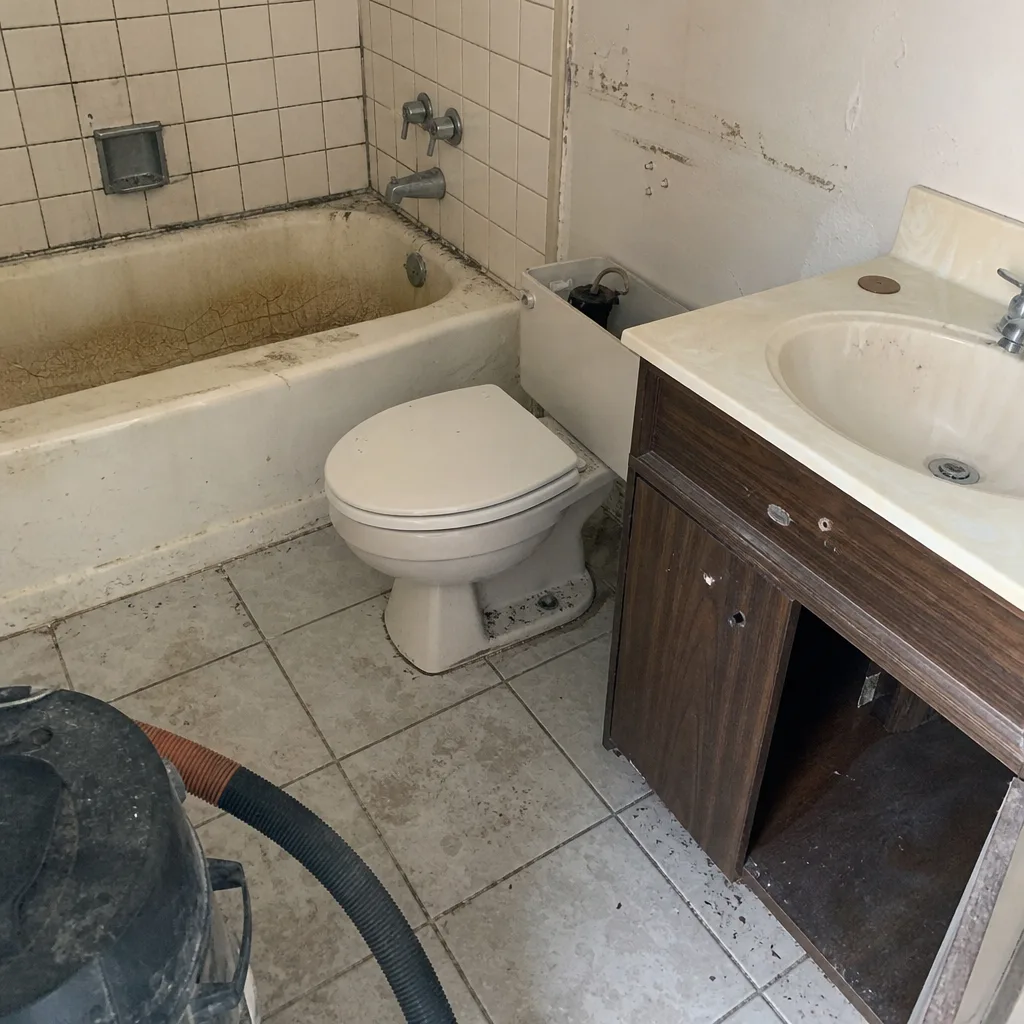 Before
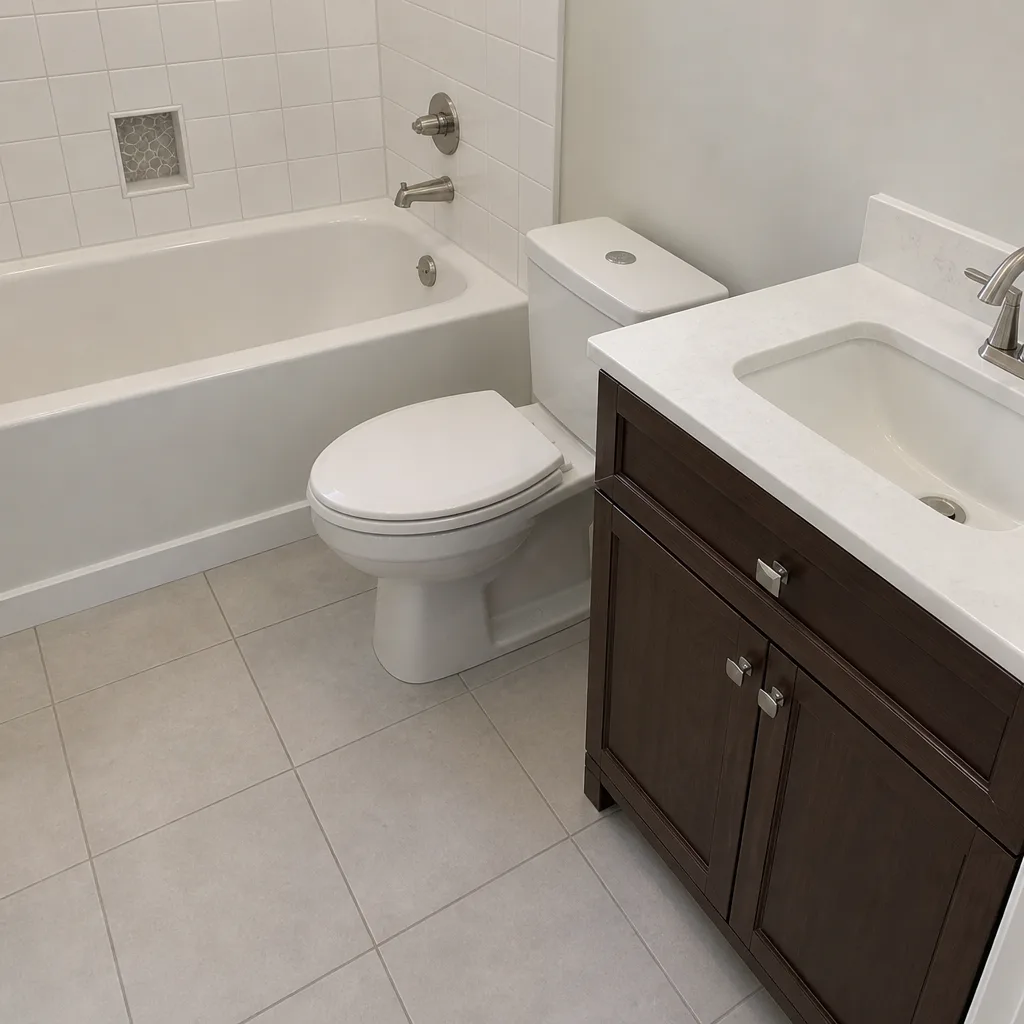 After
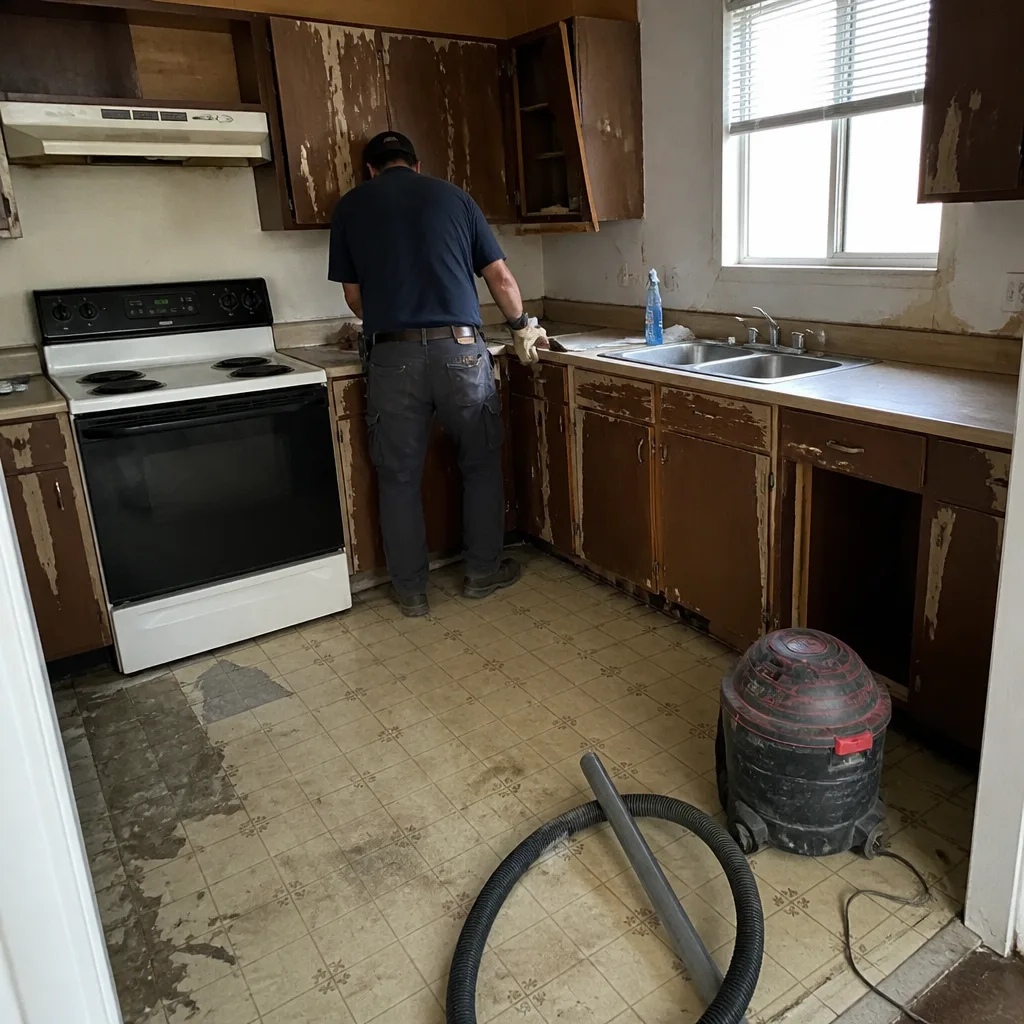 Before
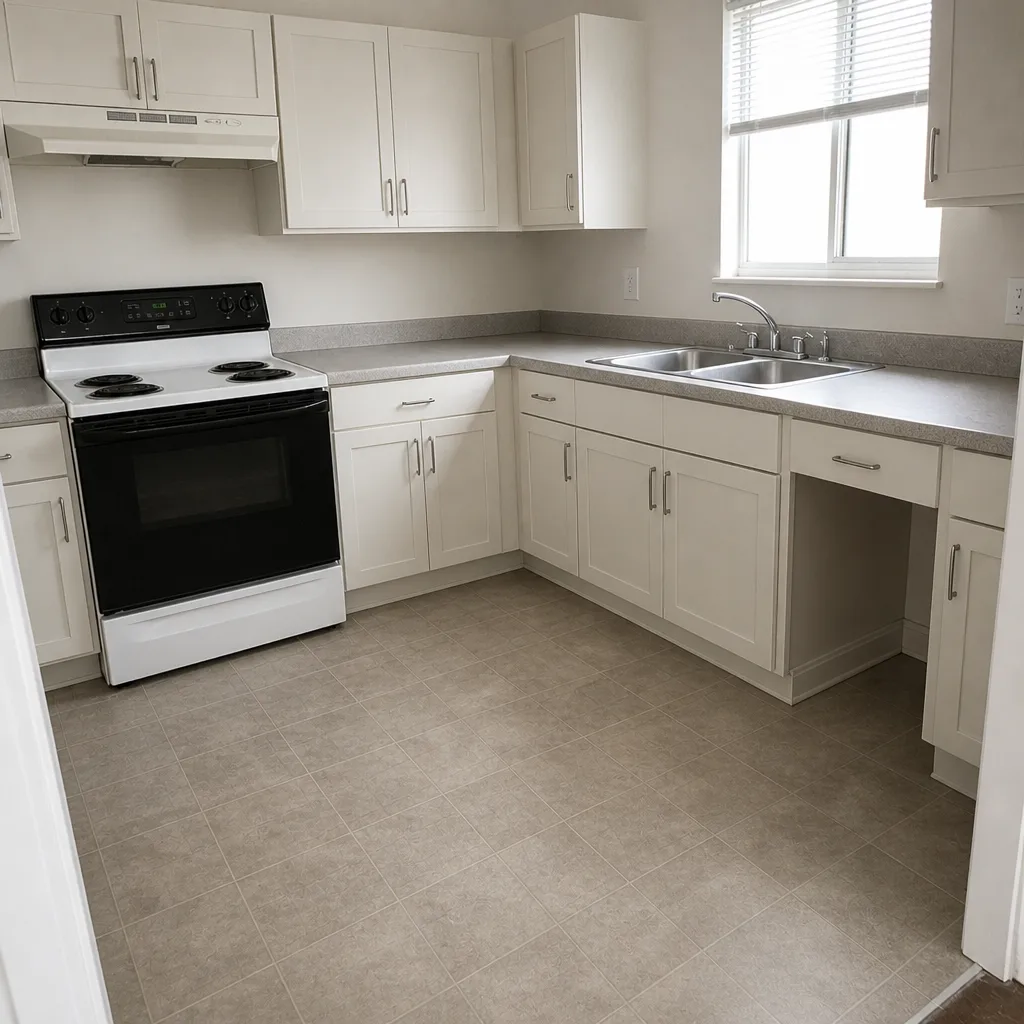 After
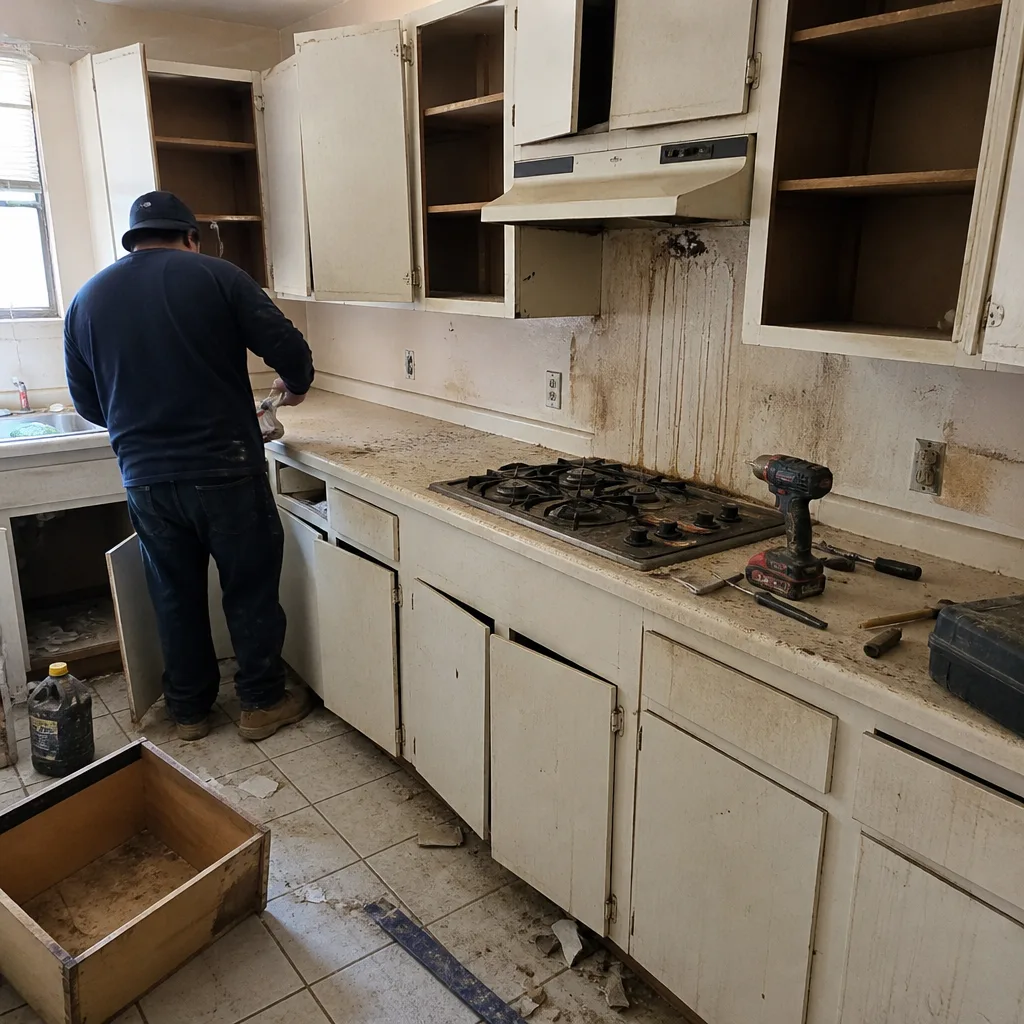 Before
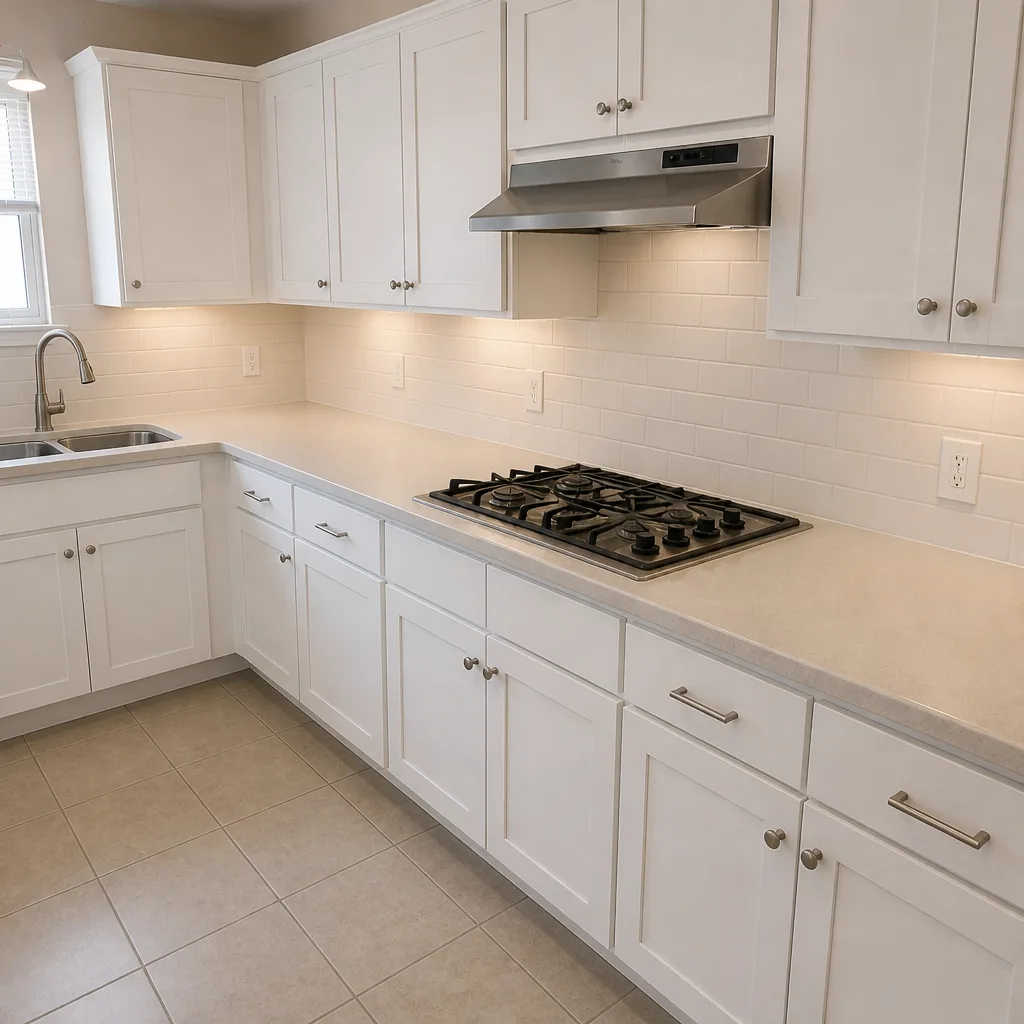 After
Frequently Asked Questions
A single-paver repair typically runs $75-$200 depending on location and whether the bedding needs work; a section repair of 20-50 square feet generally lands between $8-$15 per square foot once base, sand, and re-lay are included; and a full driveway re-lay with new base runs $12-$22 per square foot in the North Las Vegas market. The variance comes almost entirely from what’s under the pavers – a stable concrete-adjacent base costs far less to repair than a base that needs excavating. Call (844) 797-5026 for an exact quote on your specific driveway – estimates are free, and our pricing is upfront with no surprises.
Only if the bedding layer under that paver is dry, sound, and in contact with the paver you’re re-leveling. In most cases in North Las Vegas, a sunken paver got that way because water washed out the bedding, so replacing the paver without addressing the sand underneath is a repeat problem within one rainy season. Probe the sand below before you re-set the paver – if it’s damp or missing, address the moisture source too.
That’s efflorescence, mineral salts rising to the surface as moisture evaporates. After rain, it’s cosmetic and harmless. If it keeps appearing in dry weather, it means water is rising from the base layer or the subgrade, and the driveway needs a proper diagnosis for a moisture source – leaking irrigation, poor drainage, or a caliche shelf trapping water under the base.
A properly installed paver driveway with a compacted 4-6 inch base, geotextile separation, and consistent joint-sand maintenance will outlast the typical asphalt driveway by 2-3 times, often 25-30 years before a section repair is needed. The variables that shorten that window in North Las Vegas are sun exposure (color fading, seal coat wear), monsoon water volume, and irrigation leaks under the driveway. Maintenance matters more than initial product choice.
Repairing existing pavers generally doesn’t require a permit. Full replacement, new construction, or any change to the driveway apron where it meets the public right-of-way typically does – and the apron transitions and public-utility crossings require inspection. Groundwork Construction Co. of North Las Vegas pulls the required permits and coordinates inspections as part of any replacement project, so you’re not chasing the paperwork yourself.
No, and any contractor who says otherwise is guessing. The cost of a paver repair in North Las Vegas depends on what’s under the pavers, whether the failure is surface or base layer, and whether drainage work is needed. A proper free estimate happens on-site after a physical probe of the base layer and a walk of the whole surface. Call (844) 797-5026 to schedule yours – the visit costs nothing, and you’ll get a written line-item quote with a fixed number you can plan against.
Paver Troubleshooting in the Broader Landscape Picture
A driveway rarely fails in isolation. Water that runs off a paver surface has to go somewhere, and in North Las Vegas it usually ends up against a fence line, an exterior wall, or the front edge of a garage slab. If you’re seeing recurring efflorescence and settling in the same area, that’s often a grading or drainage question that runs under the fence and along the property edge. Our Fence Installation in North Las Vegas service regularly includes grading correction at the base of fence lines to route water away from the driveway and the home – small detail, but it eliminates a whole category of paver problems nobody expects.
The bigger picture also matters when the paver failure is a symptom of a broader hardscape or property improvement plan. If you’re adding a patio, an accessory structure, or a garage conversion, coordinating the paver work with the rest of the site plan prevents the tearing-out-a-new-driveway-to-install-a-patio problem. Our Home Additions & ADU in North Las Vegas projects always coordinate paver and drainage work in scope from day one, rather than treating it as an afterthought.
On the material side, we partner with Groundwork Construction Co. of North Las Vegas home standard brand partners across the categories we build in – Belgard pavers, CWS base materials, and Mr-Glass fixtures on the window and door side. The point is that the material selection is real and verifiable, not a brochure claim. When we tell a North Las Vegas homeowner what paver is going under their driveway, it’s a known product line with a known spec sheet, not a generic “premium paver.”
The Bottom Line
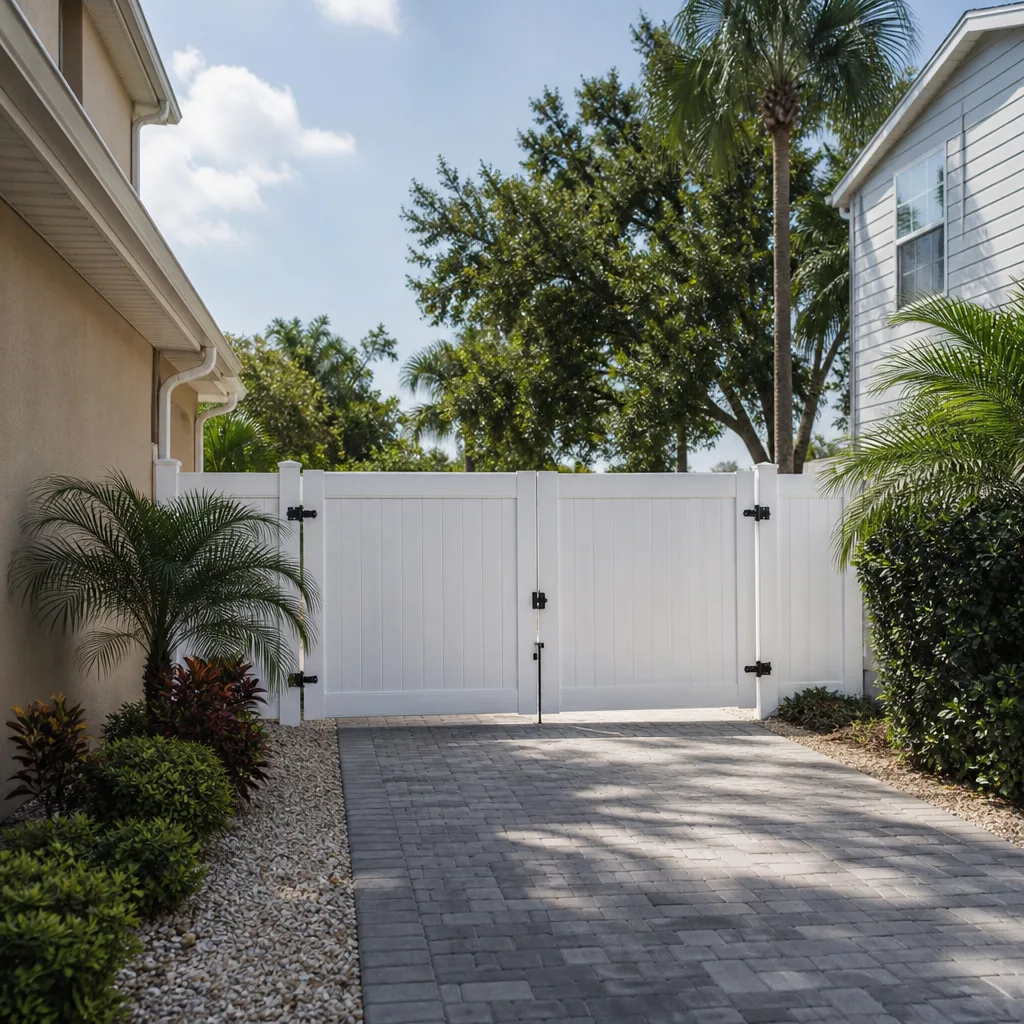
Most paver problems in North Las Vegas fall into fixable categories – settling from a washed-out bedding layer, efflorescence from water movement, joint sand wear from desert wind and monsoon runoff, or a base-layer failure that needs a section repair. The trick is diagnosing before you spend: probe the base, check the timing of the white powder, look at where the cracks are forming, and confirm whether the section around the failing paver is stable. Local repairs fix local problems. Base and drainage problems need base and drainage fixes. And any repair covered by a real workmanship warranty is a repair that gets done once, not three times. Read more about Driveway & Pavers in North Las Vegas if you’re planning a full installation rather than a repair.
When you’re ready to get your driveway looked at by someone who will tell you what’s actually wrong and what it will cost before anything is touched, call Groundwork Construction Co. of North Las Vegas at (844) 797-5026 for a free estimate. Live person, 24/7 – no voicemail. Upfront pricing, no surprises. And every paver repair we do is backed by our 730-Day Done Right Promise – built to last, backed in writing.
Written by the team at Groundwork Construction Co. of North Las Vegas.